After reviewing the Great Gray Owl shots Deb & I were able to capture in Ottawa a couple of weeks ago, I found a few more that were perhaps nice enough to post.
Although the Great Gray Owl is exceeded in weight by a number of other owls, its large head and long tail help it to be the largest and tallest Owl known in the world. Female adults are almost three feet in length with a wing span of five feet. The average female weighs three pounds although Great Grays have been found as heavy as four pounds.
With their wings outstretched you get a glimpse of just how large these owls are.

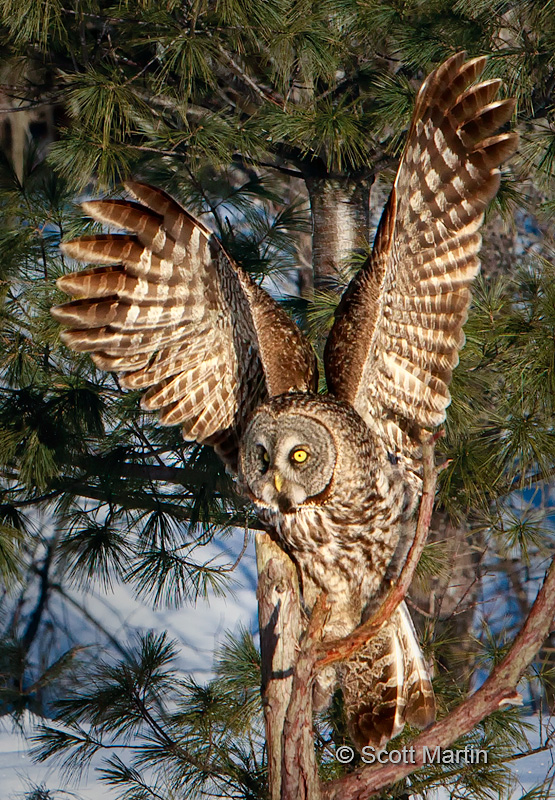
In order to become a better photographer, one has to become their own best, or worst, critic as well as being open to critique from others. It’s the only way we can learn to improve our skills, not only in terms of camera settings and technique but how to think about what a shot is going to look like even before you take it. Although taking pictures of wild birds and animals is difficult and quite spontaneous, you can always make sure you position yourself so the lighting is optimized and many of the elements in the frame (i.e., perch and back ground) are such that they enhance, as oppose to detract from, the resulting image. So lets critique the above image (feel free to leave a comment if you wish); for me technically the face is too soft (a nice way of saying out of focus) and compositionally the perch obstructs and casts a shadow on the owl and the back ground is too close to the bird causing the birds to be ‘lost’ in the back ground. Otherwise, I like the wing position and it’s always a treat to be so close to a Great Gray Owl.
Regarding technique, the soft face was simply because I missed focusing on the eye. The depth of field for this image was about 2m, unfortunately that 2m started just behind the owls face! In order to minimize the compositional challenges in this shot, I reduced the saturation of the back ground about thirty percent using Viveza 2, a NIK Software plug-in for Photoshop as well as using Color Efex Pro 4 to adjust the contrast and colour of the owl. Finally a vignette was added to darken the back ground (using a solid color layer in Photoshop). These were done to try to get some separation between the bird and its background. Another option would have been to blur the back ground, however I chose not to do so as it would have produced an un-natural ‘Photoshopped’ look. Sounds ironic, but virtually all digital images are processed (often heavily) yet the goal is to have a Photoshopped image that doesn’t look Photoshopped!
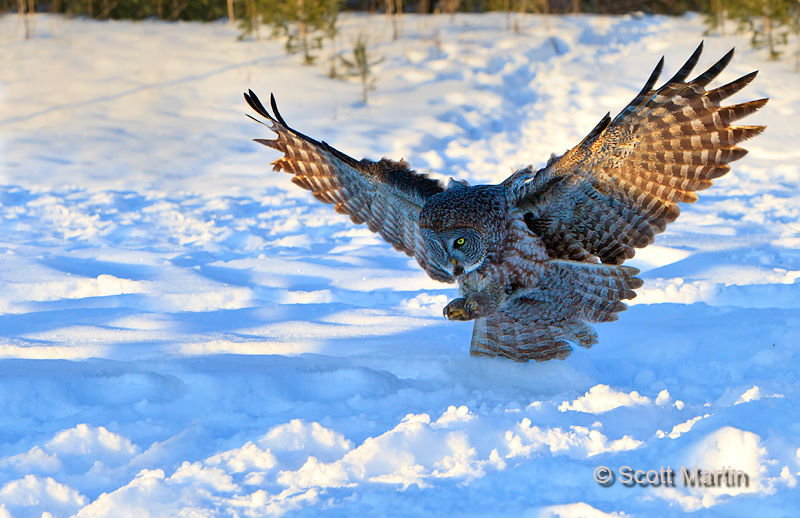
This next image is included simply for our discussion on critique and as an example of a common occurrence in wildlife photography……what could have been a ‘keeper’ but is ruined by an uncontrolled factor, in this case the owl flew into a deep shadow.

A lot of time was spent in post processing trying to get some detail out of the shadows and add enough contrast, colour and saturation to make the image ‘acceptable’ however it still doesn’t quite work as a great image. In this image the canvas was increased significantly, the back ground cleaned up a dark gradient added to the top half of the frame. We need to learn that its important to take great measures to get the shot right in the camera because no amount of time and skill in post processing can turn an average image into a good one. Photoshop doesn’t rescue anything from the recycle bin, yet we often spend way too much valuable time trying!
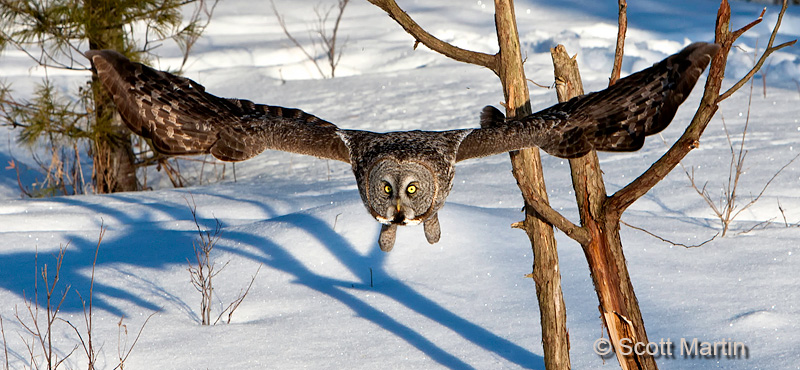
This last shot is simply out of the camera with no processing other than cropping and an automated Photoshop action preparing it for posting on the web.

It’s a really busy back ground and won’t end up in a frame anywhere but it does capture the majestic wingspan of a Great Gray Owl and for some reason, purely subjective, I just like it….and that’s the beauty of photography….always strive to get better in every detail, whether it be technical or compositional, but in the end all that really matters is that you simply enjoy the picture!
The three images above were all taken with a Canon 1D Mk III and EF 70-200 f/2.8 L IS lens in -17°C temperatures!


Hey Scott,
I agree that improving your own analysis is key in improving your images. Scott Kelby describes it as “being a good curator”. Just remember that you can also be your harshest critic. Your first shot is certainly unrecoverable. The second one I could turn into something as a composite. The last one, would take very little effort to make stunning, by replacing the background.
As an idea, I see you mentioned blurring the background, and desaturating/underexposing a background as a technique for separation. Also consider eliminating distracting backgrounds by shooting backlit. If possible introduce a flash (yes not always an option for wildlife) but with the sun high in the sky, you will almost always be fighting the background, and you can eliminate it by putting the sun behind the bird. The rim light effect will make the bird pop, and a circular polarizer or a ND filter, say a 2, would help cut down the flare.
Nice Shots, I think you’ve had a great opportunity to be so close to a wild Great Owl!
-Josh-
Thanks for your comments & suggestions. They are much appreciated and I think I may try playing with back grounds for the third one….after I go out and shoot a good one :). I never use flash with owls or any other nocturnal bird due the extreme sensitivity of their eyes, so any back lit shots would require blowing out the background completely in order to acquire decent exposure on the bird.
These are great images Scott no matter which way you look at them. Your analysis is a good lesson on the complexities of wildlife photography and some ways we can look to improve our chances of getting a better photograph before, during and after.
Thanks Arni…..planning and discipline are good habits to develop but all too often I don’t think about them until after the shutter is released 🙂