by Scott Martin Photography | Feb 21, 2013 | Birds, Blog, Raptors
Last Friday Deb & I headed to Ottawa for the first half of Family Day Weekend. It was our first time in the nation’s capital in many years and the timing was perfect as it was also the last weekend of Winterlude, Ottawa’s famous winter carnival. We were able to see the Parliament Buildings, take in the ice sculptures in Confederation Park and walk along the Rideau Canal, where I also enjoyed Ottawa’s most famous food, the Beaver Tail.
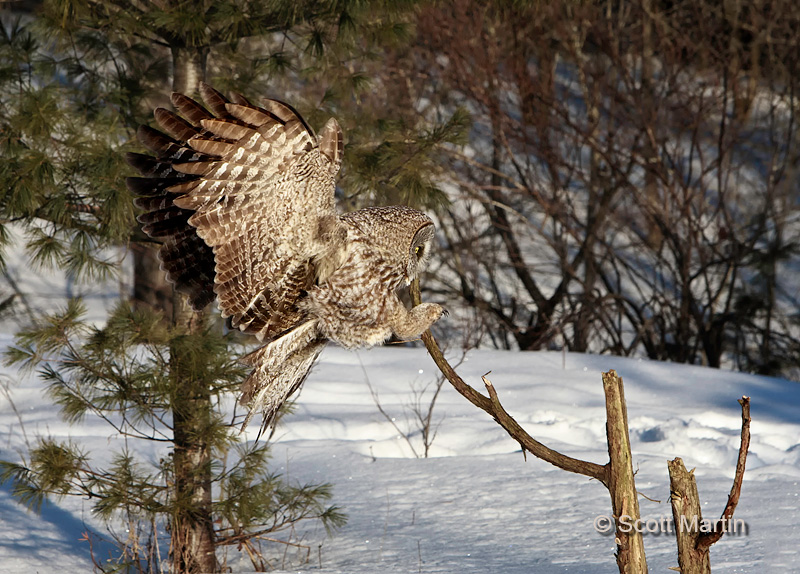
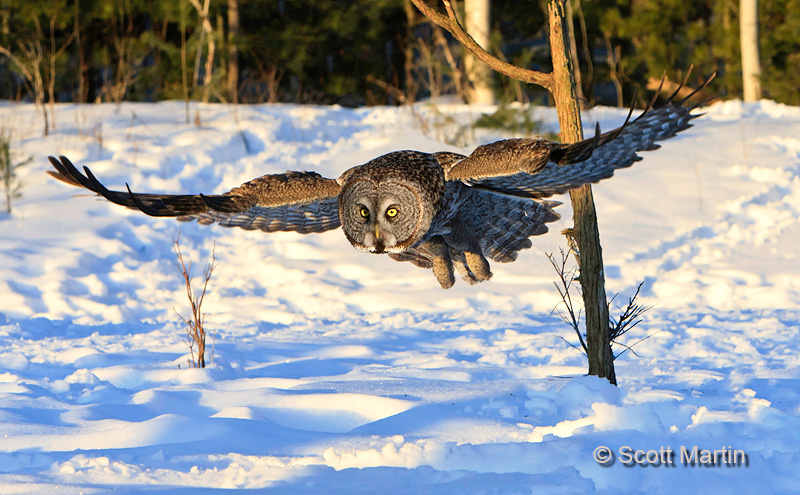
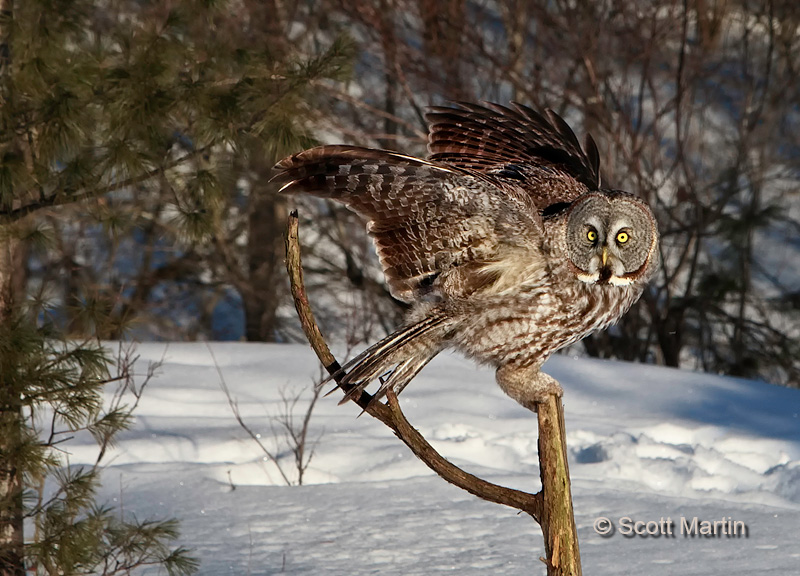
The primary reason we made the four-hour drive to Ottawa was to photograph Great Gray Owls, of which there are more than usual in Ottawa this winter. Great Gray Owls typically nest and live much farther north (as far north as the Arctic Circle) however during the winter months in years that the food supply in the north is restricted, (or the Great Gray Owl population exceeds what the food supply can deliver), younger Owls that can not effectively compete with adult birds for food are displaced southwards until they arrive at areas where food is plentiful. Once they find a location with an adequate food supply they typically stay until returning to the north in time for nesting season.
Although the owls were located in a well-known location about 15km from the downtown core, getting to the birds involved a twenty-minute hike from the closest place available to park the car. It seemed even longer as we made the trek before sunrise in -17°C temperatures carrying about 30 lbs of camera gear! Watching the sun rise for another day is always a special time and we were reminded of Psalm 118:24 “This is the day the LORD has made; let us rejoice and be glad in it”….which is exactly what we did!
The best light for taking pictures is during what are known as the ‘Golden Hours’ just after sunrise and just before sunset. When the sun is low to the horizon, it is softer and warmer appearing which makes photographs far more appealing than when taken during the mid day hours when the light is harsh. It may seem too early when you are leaving in the dark with your camera gear, but it is always worth the effort!
We were fortunate to see two Great Gray Owls and spend about three hours photographing them. Great Gray Owls are the largest North American Owl and some say largest in the world, measuring over three feet high with wing spans of up to seven feet. I the north their diet consists mostly of Ptarmigan while in the south that changes to voles and mice, of which they can eat up to twenty per day.
I trust you enjoy the photographs of these magnificent raptors and as always, you comments are much appreciated.

.
.
.
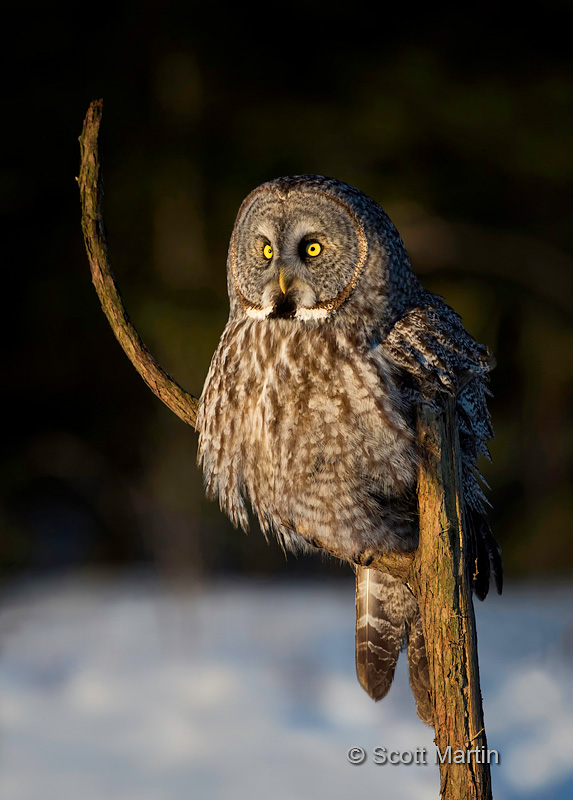
These images were taken with either a 5D Mk III and 500mm f/4 lens or a 1D Mk III and 70-200mm f/2.8 lens.
by Scott Martin Photography | Jan 23, 2013 | Blog, Cityscapes, Educational, Landscapes, Travel
After flying all night from Toronto and arriving in Rome early in the morning, we checked into La Piccola Maison (a perfect place to stay in the heart of the city within walking distance of everything) and then headed for the Colosseum where we spent the rest of the day. Our path to the Colosseum took us right by the Trevi Fountain where we stopped and had our first gelato!
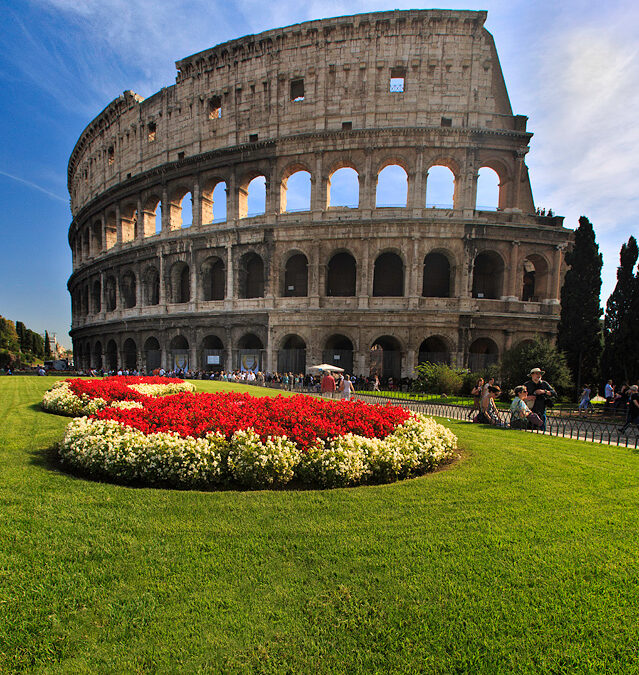
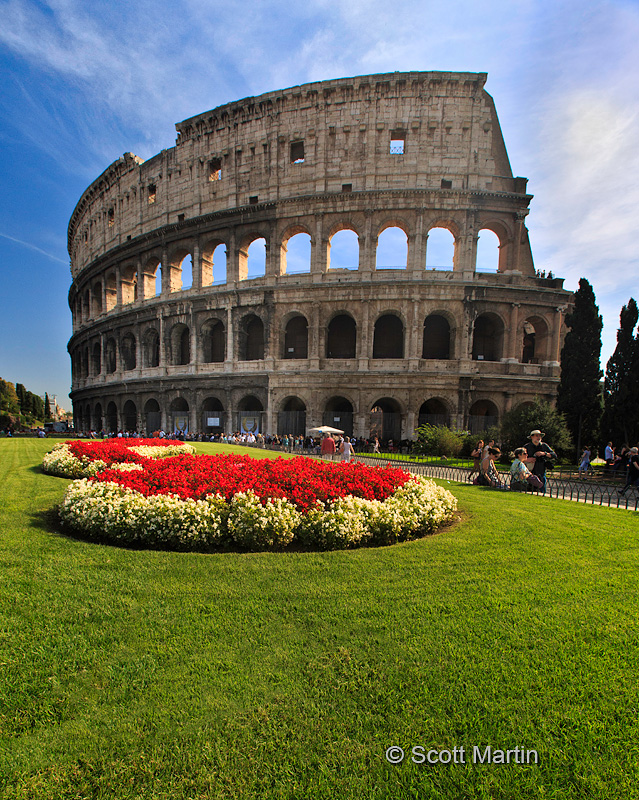
It was quite the feeling to be walking along the Via Dei Fori Imperiali and see the Colosseum coming into view for the first time, certainly the oldest structure we’d ever seen, having begun construction in 72 AD and completed under Titus in 80 AD. Here are our first views of the Colosseum.
.
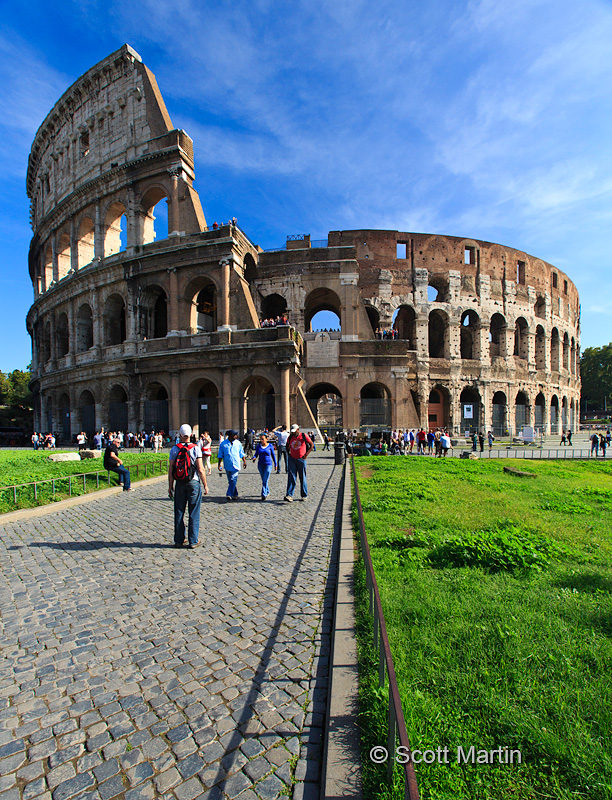
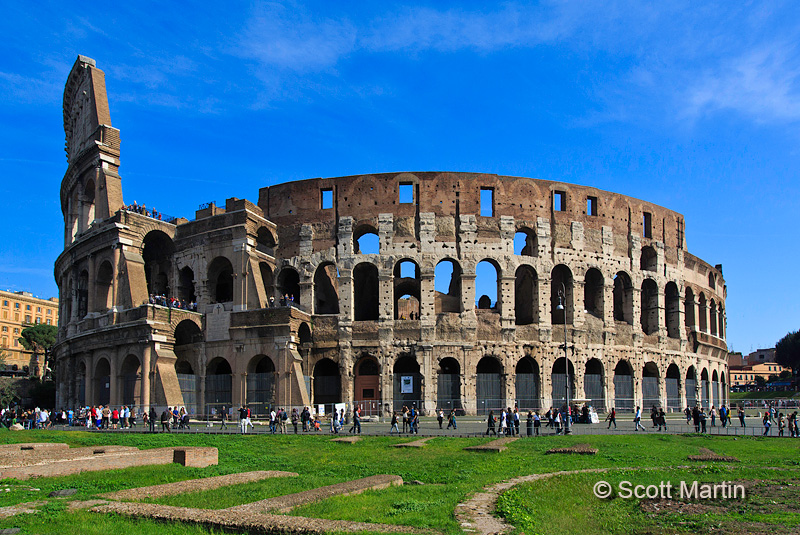
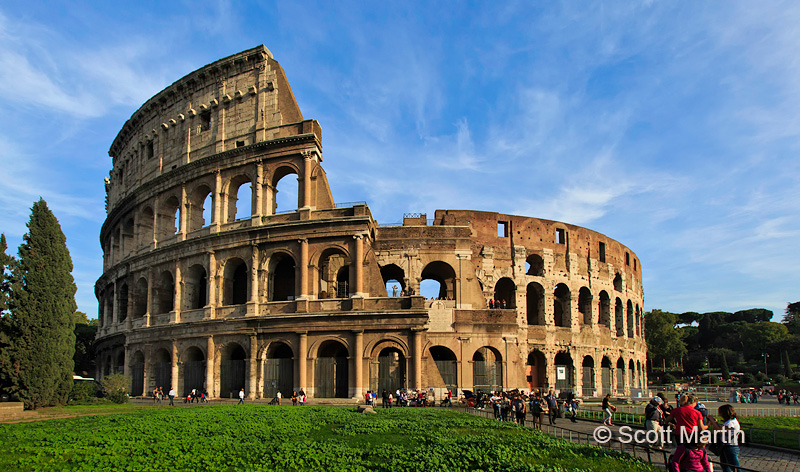
The Colosseum is a huge oval amphitheatre capable of seating 50,000 spectators. It is 615′ long, 510′ wide and stands 157′ tall, having a base that occupies more than six acres. The outer walls were made of travertine stone and no mortar was used in the construction. The stonework was held together with bronze clamps, most of which have been pried and torn out for other uses. This has resulted in the pock marks that remain today as seen below.
The interior floor of the Colosseum measures 287 x 180′. The floor was a wooden floor covered by up to a foot of sand. Our tour guide relayed the morbid information that the sand was required to absorb the blood shed in Colosseum events, both of wild animals and humans. It is recorded that 9,000 wild beasts were killed in the inaugural event in 80AD. Below the wooden Colosseum floor is the two-story area known as the hypogeum, which is shown next. The East end of the floor has been re-created, leaving most of the hypogeum visible.
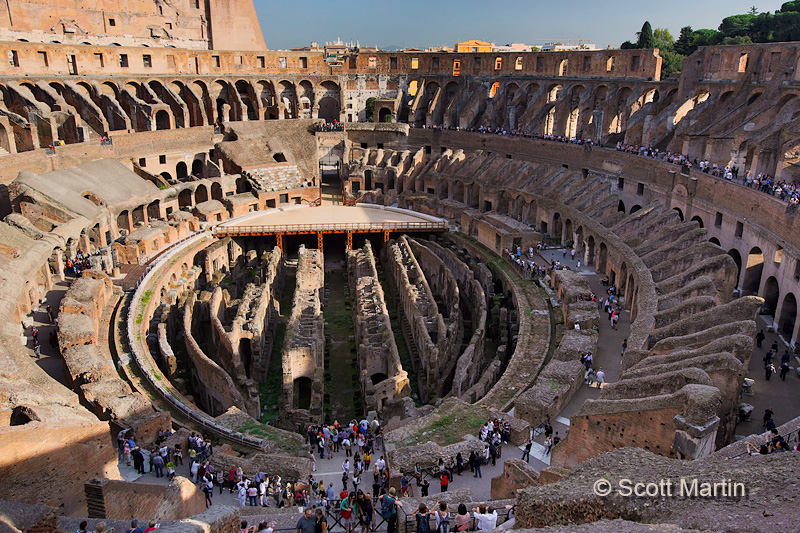
.
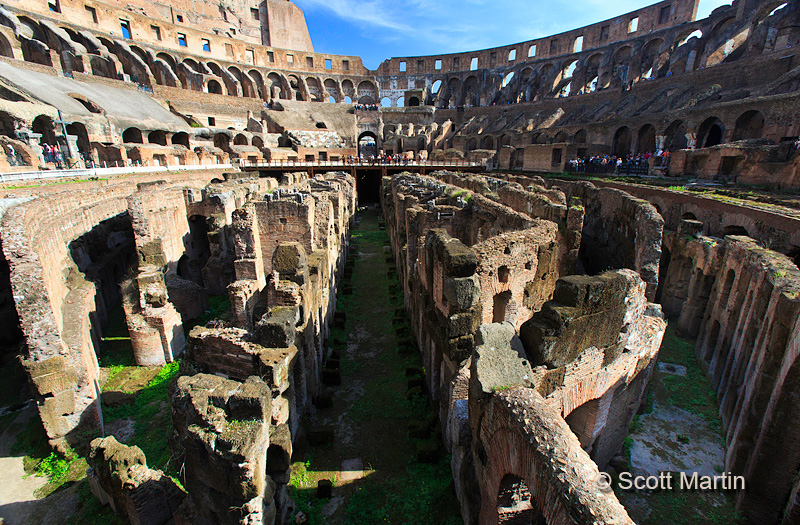
Until last year access to the hypogeum was not possible, however by purchasing special tickets you are now able to join a guided tour of the hypogeum as well as go up to the third level of the Colosseum, neither of which are possible with the general admission ticket. Although it more than doubled the cost of visiting the Colosseum it was an amazing experience to go down below the floor level into the hypogeum. Unfortunately the images you will see can not come even remotely close to portraying the feeling you get while standing there walking along the same pathways that countless Christians walked as they headed to the elevators used to push them up onto the arena floor where they were killed for sporting spectacle before 50,000 people.
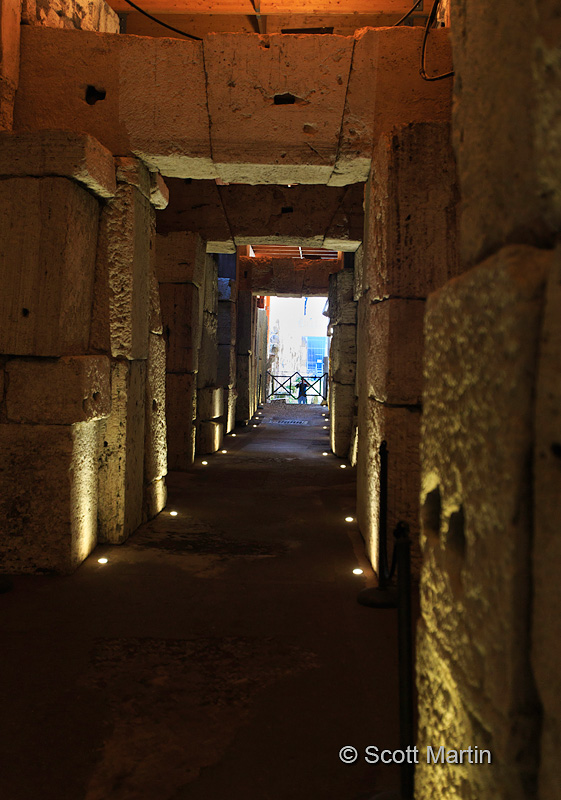
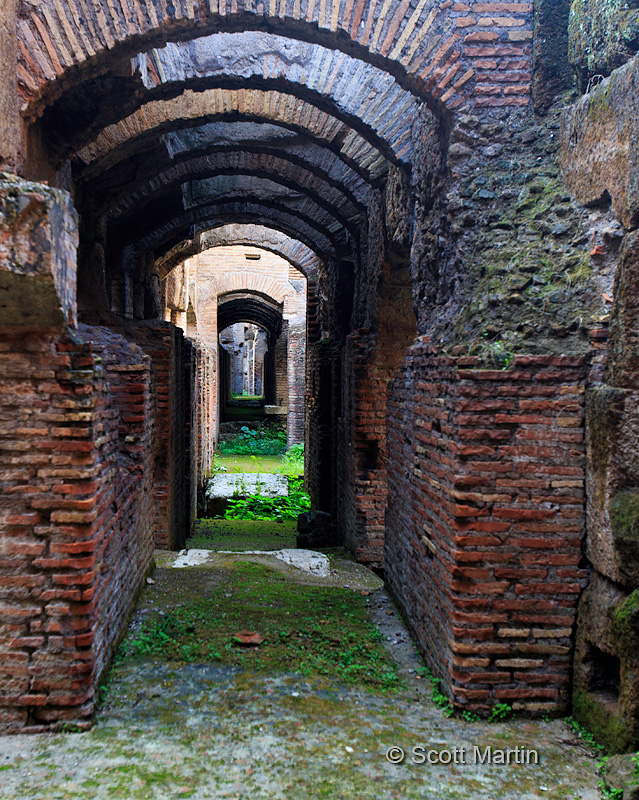
(Aside: A couple of things to note regarding the above photograph, the first being the lack of mortar and the use of keystones in the arches of the walkway to provide the necessary structural integrity. Secondly this shot was taken as an ‘in-camera’ three shot HDR, meaning that with one press of the shutter, the camera takes three images, one at the metered exposure, one (in this case) three stops underexposed and another three stops overexposed. The camera then combines the three images into one new image and deletes the three originals. This HDR (High Dynamic Range) technique has been in use for years however the processing was always done on the computer using Photoshop and taking a lot of time. With today’s new cameras it can be done in a few seconds right in the camera.)
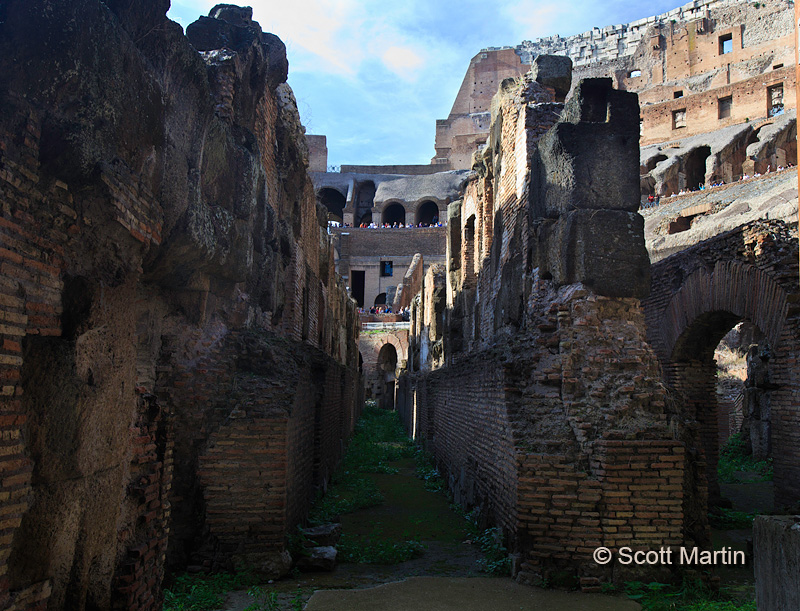
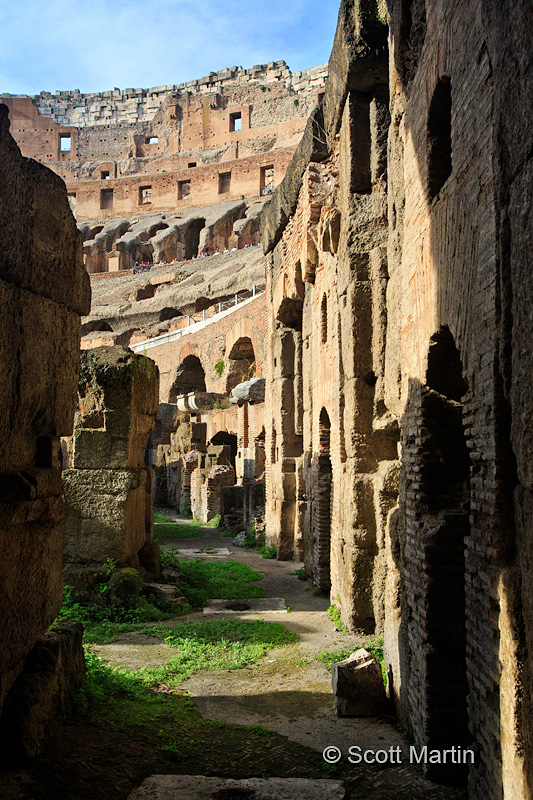
The next image shows the outer wall of the hypogeum and along the pathway you can see travertine slabs which are bases for a complex elevator system that was used to move wild animals, people, and large stage props, from the hypogeum up onto the arena floor. It is thought that the elevators were moved by rope and pulley systems that were manned and operated by slaves who either lived in the hypogeum or were brought in through tunnels to work the elevators.
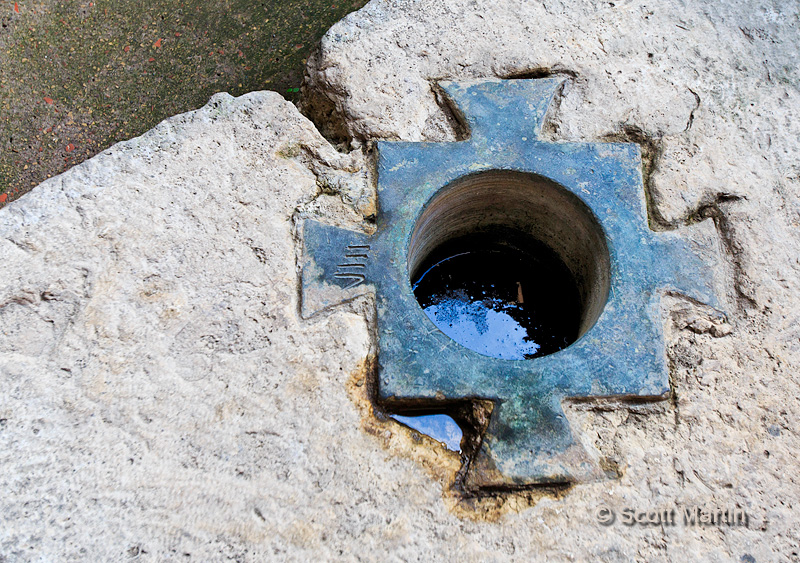
A close up of an elevator shaft support, this one is #8 of eighty found in the Colosseum.
It’s hard to believe this walkway is almost two thousand years old.
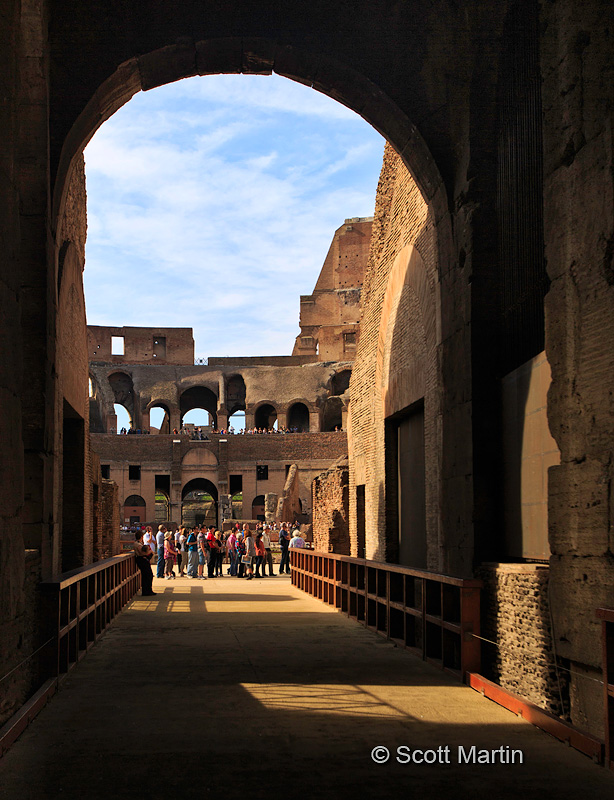
The Colosseum was known for its ability to quickly get spectators into and out of the building, in fact there are eighty arches leading into the amphitheatre, seventy-six for regular people and four large arches for the elite. Below is the East arch, through which the Senators entered and headed to their private seating area, which is shown in the second image below. Each white marble slab is the base for a senator’s chair and many of these slabs have the various senator’s names engraved on them. You can also see the senator’s seating area and the East arch in the fourth and fifth images in this blog post.
.
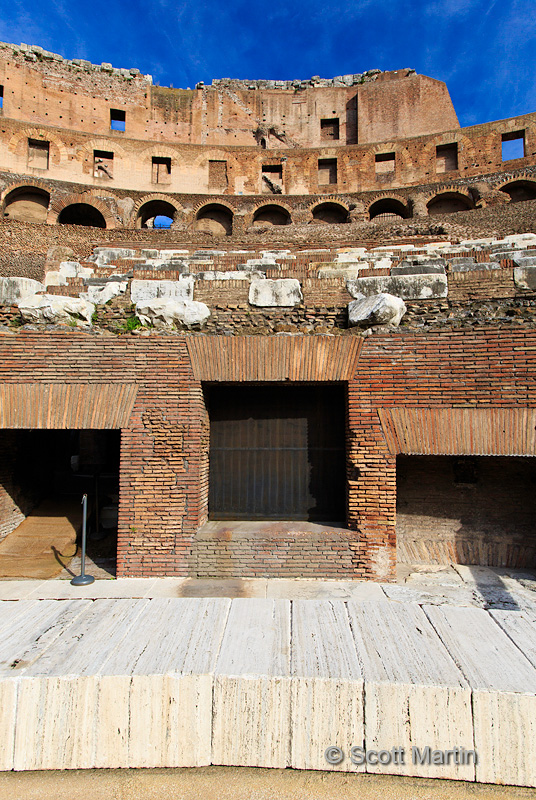
Here is one of the much smaller 76 entrance arches used by the commoners.
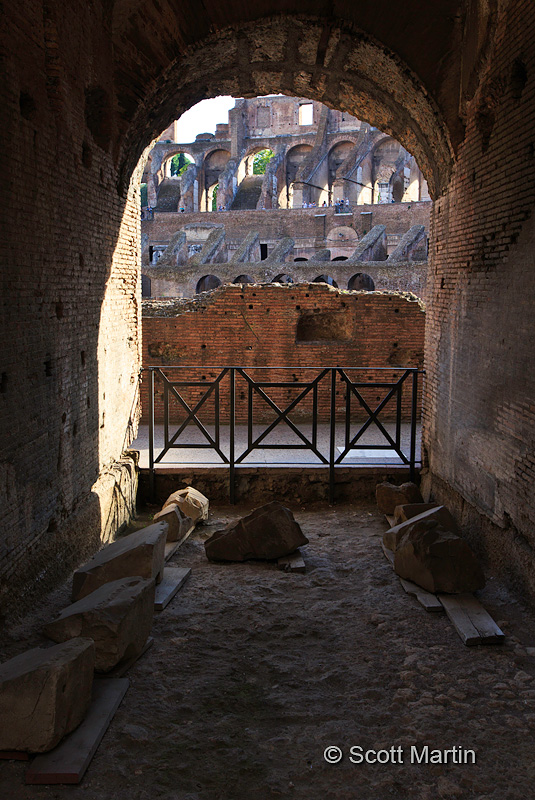
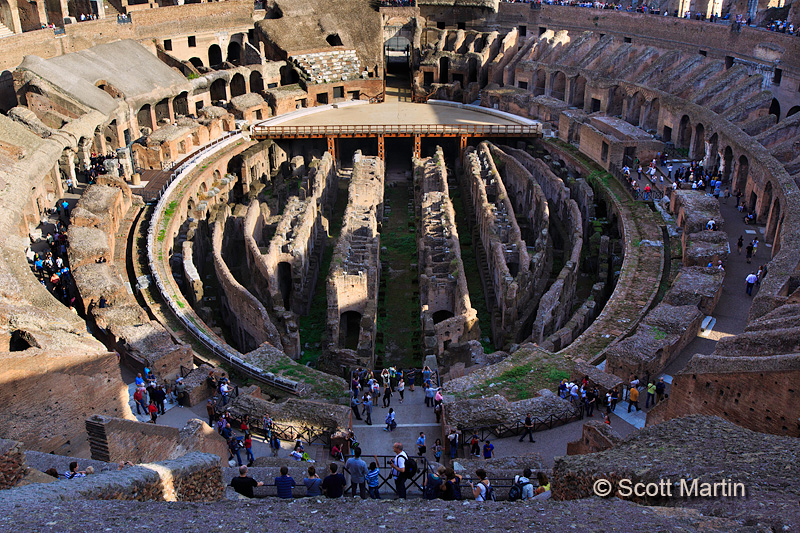
The climb to the third level of the Colosseum provided a wonderful birds eye view of the amphitheatre.
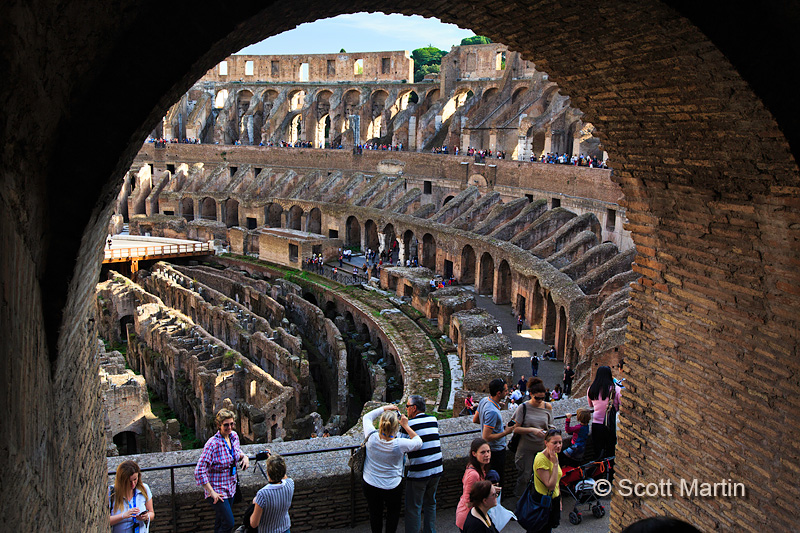
Another view from the stairwell between the second and third levels.
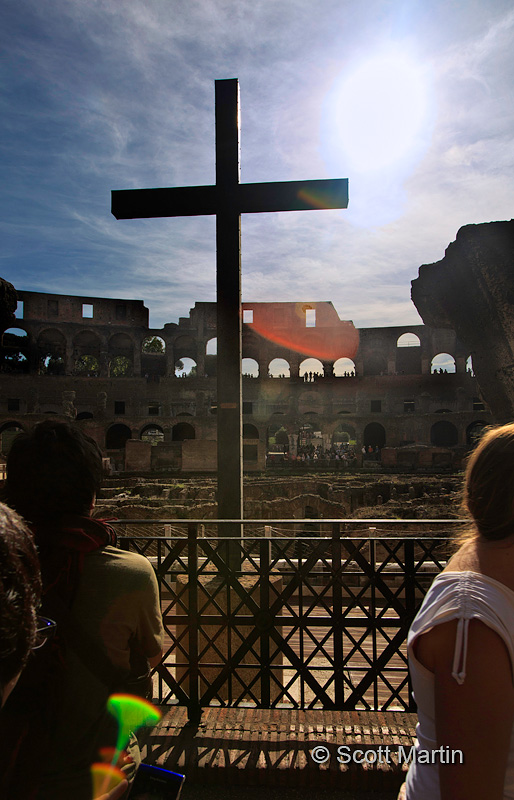
The last gladiatorial fights were circa 435 and the last recorded animal hunts around 523. By the end of the sixth century a church was incorporated into the Colosseum and a cross erected for the first time. Since then the Colosseum has been used in many different ways and certainly makes for interesting reading if you are so inclined.
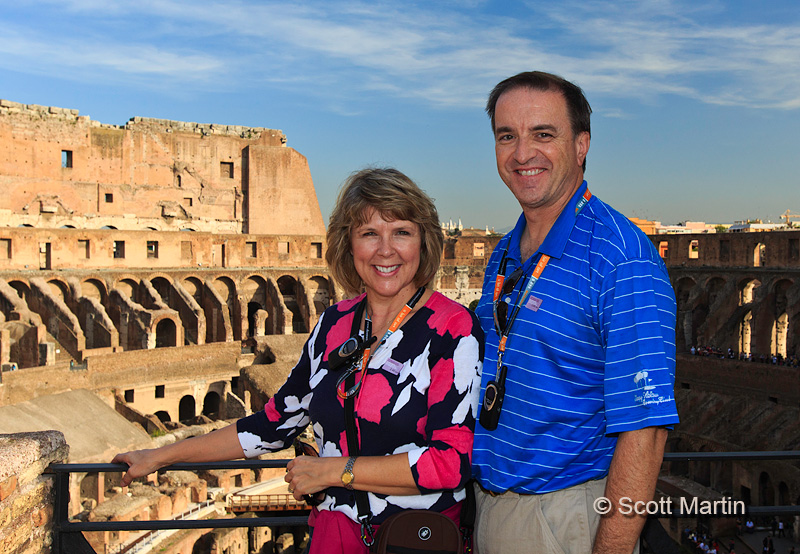
Our first day in Rome was terrific and spending a few hours in the Colosseum was an experience like none other. We even took time to pose like the tourists we were!
One final shot of the Colosseum.
All of the images taken in this post were with the Canon 5D Mk III and either 16-35 or 24-105mm lenses. Larger size versions of the images in this post can be seen in the Rome gallery.
Thanks for taking time to look through these images of the Roman Colosseum and as always your comments are much appreciated.
by Scott Martin Photography | Jan 3, 2013 | Blog, Cityscapes, Educational, Landscapes, Travel
Last fall Deb and I celebrated our thirtieth wedding anniversary touring though as much of Europe as we could possibly cover in seventeen days. It was a fabulous trip that saw us accumulate over 4,500 km on our rental car and see so many fabulous sights that had it not been for photographing as much of it as possible we surely couldn’t remember everything! Over the upcoming weeks we will try to post some of the highlights of our trip on the blog and will also post the images in the travel section of the website gallery.
We began our trip in Rome and spent our first afternoon in Italy touring the Colosseum, which was a truly amazing experience. The emotions you feel as you are guided through the hypogeum (underground levels of the Colosseum) are indescribable as you recall in a way that is not possible by reading a book, or studying in school, the events that occurred in the very place you are standing some two thousand years ago.
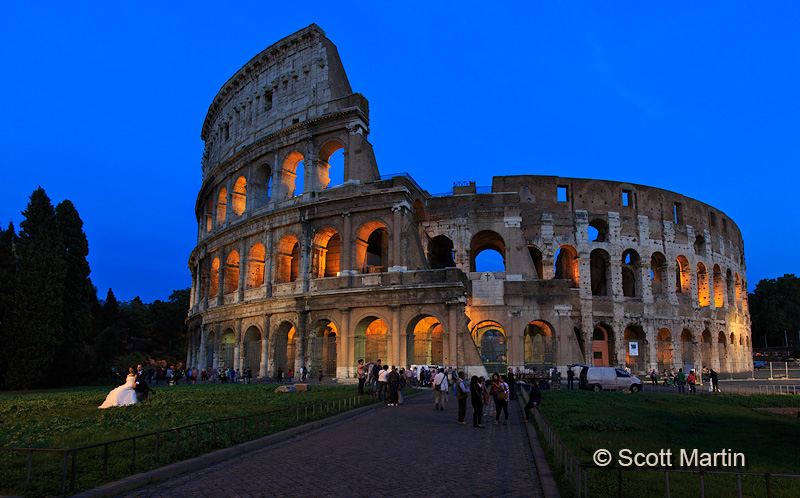
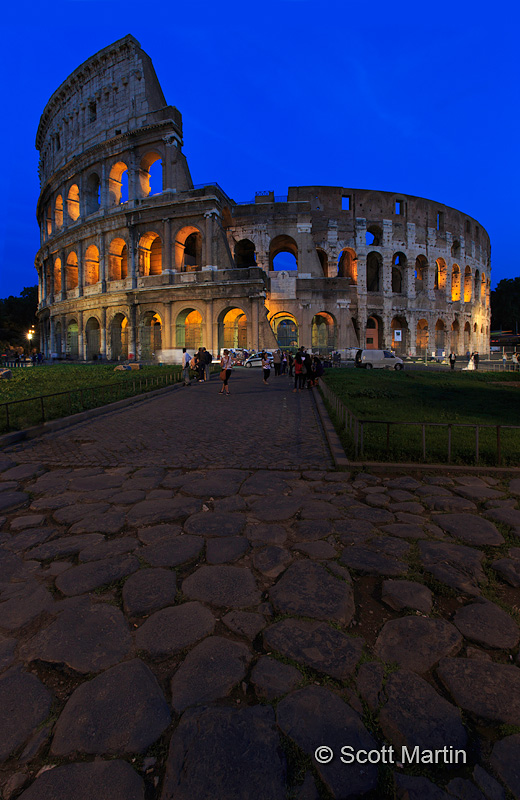
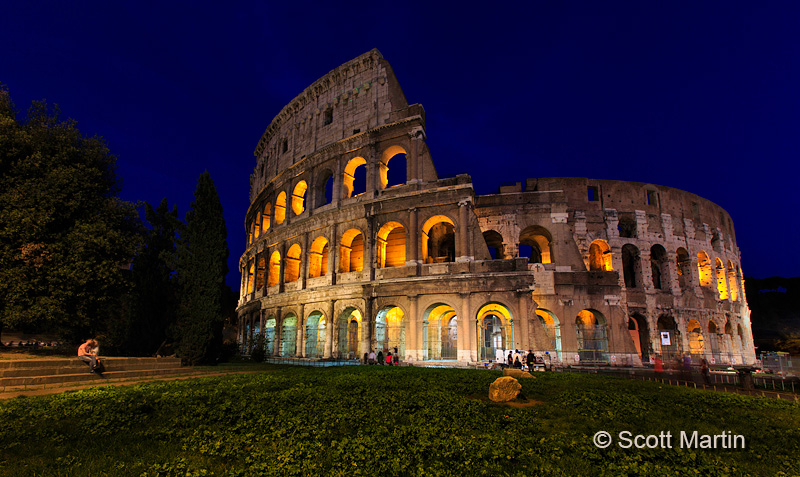
The next blog post will include more of an informative photographic description of the Colosseum and its history however for now I would like to post a few images of the Colosseum taken at night. They are posted in chronological order so you can see the sky darkening in each image.
Night photography is a lot of fun and as long as you have the correct equipment and know a little of the technical fundamentals it’s not very hard to get some interesting pictures. The most important piece of gear for night photography is a good tripod. It is impossible to hand hold a camera in the low light of the evening and get a good sharp image as the exposures required are just too long. From a technical perspective you may find the following helpful; try to take night shots while there is still blue in the sky as once the sky is black all detail is lost and the edges of the subject are lost in the darkness; use a low ISO (200 or less) to help reduce the noise in the image which is always more noticeable in the dark colours that dominate night photography; use a small aperture (f/22) for great depth of field so everything remains in sharp focus throughout the image. A small aperture also creates the starburst effect on light sources that many people enjoy seeing.
It is impossible to shoot the Colosseum without people milling about however you try your best to wait until there are no people in the foreground. In this case having a bride and groom in the picture adds to the appeal of the image.

Most night images are taken in landscape orientation however experiment with a vertical perspective as well, especially if you can incorporate something of interest in the foreground. In this case the large cobblestones which have probably been there for almost two thousand years….you cant help but wonder who has walked on those very stones.
.
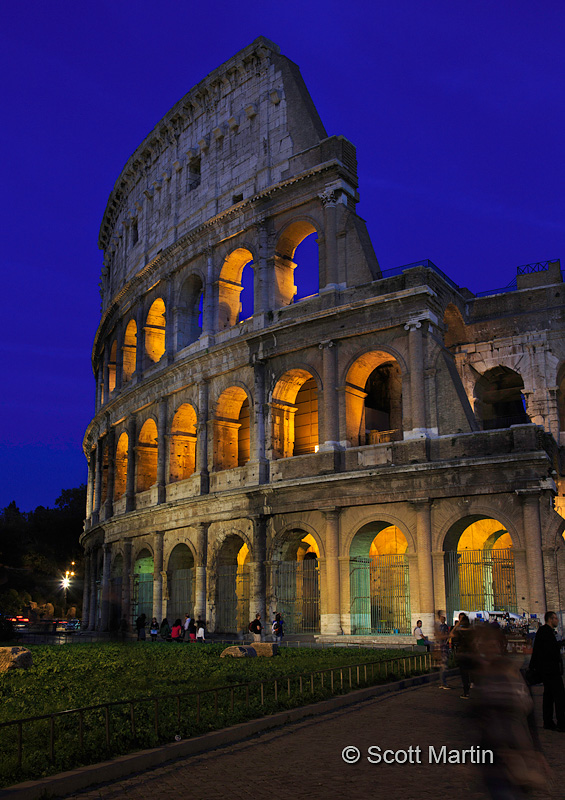
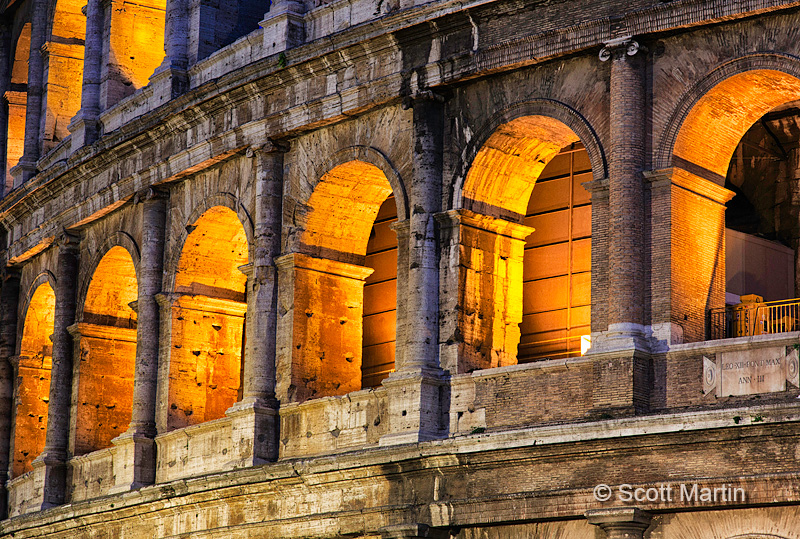
The next image is not in keeping with the others however is a reminder that it’s always good to experiment with different perspectives of the same subject when taking shots at night, even if it means changing lenses to zero in on a specific area that interests you. The next image has also been processed differently in an attempt to portray the age of the building.
.
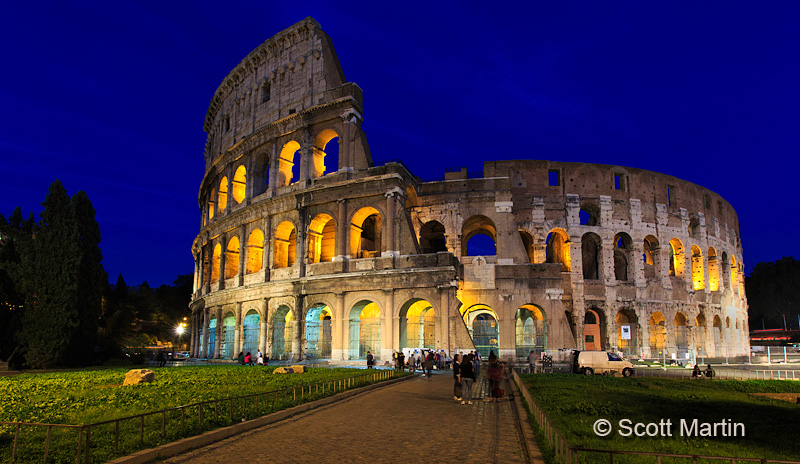
The next image was also designed to include the couple on the left and although they are very blurry because of the twenty-second exposure, they do add to the image.
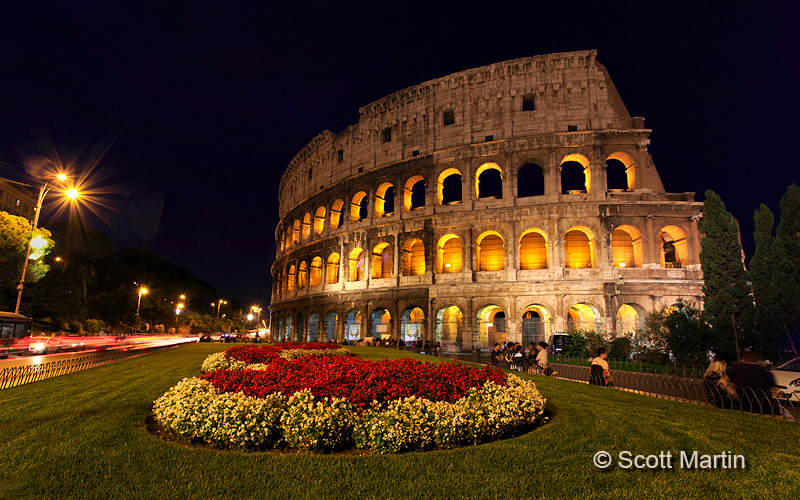
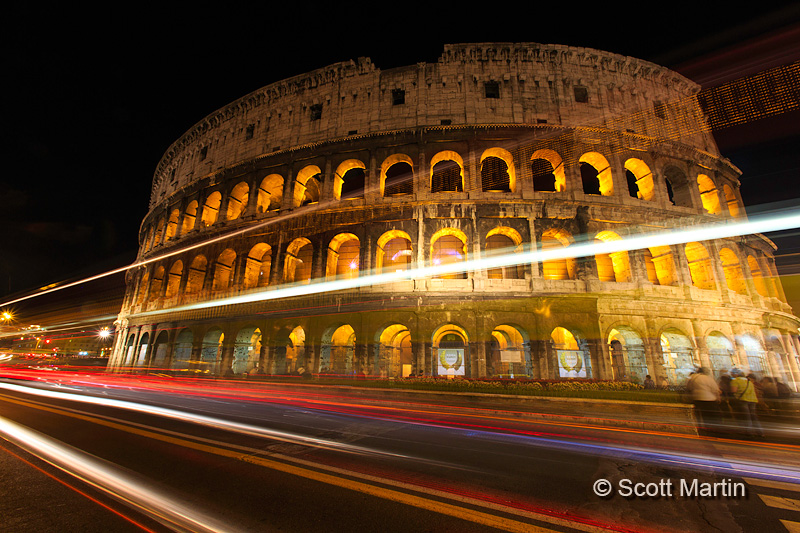
By now the sky is almost devoid of blue so its time to pack up or in this case move to another location and shoot images that don’t rely on the background to be effective. When the sky becomes black make sure you always have a foreground object that provides plenty of interest compositionally; the flower bed in the next image and the streaming lights from the traffic in the last.
.
All of the images in this post were taken using a Canon 5D Mk III on a Gitzo 1542T tripod using a 16-35mm or 24-105mm lens. If you have any questions regarding the taking of these images please leave a comment and I’ll be glad to respond. In the mean time, dust off that old tripod and start practicing night photography and I know you will be pleased withy the results.
by Scott Martin Photography | Dec 31, 2012 | Birds, Blog, Educational, Song Birds
Once again it is hard to believe that another year has quickly slipped by and we are heading into 2013 in just a few hours. Its been an exciting and busy year for our family yet we are looking forward to what awaits us next year. It has been an unusually long time since our last blog entry but hopefully as I get caught up with all the image processing that seems to clog up the Photoshop ‘in-basket’ the posts will become more frequent in the New Year.
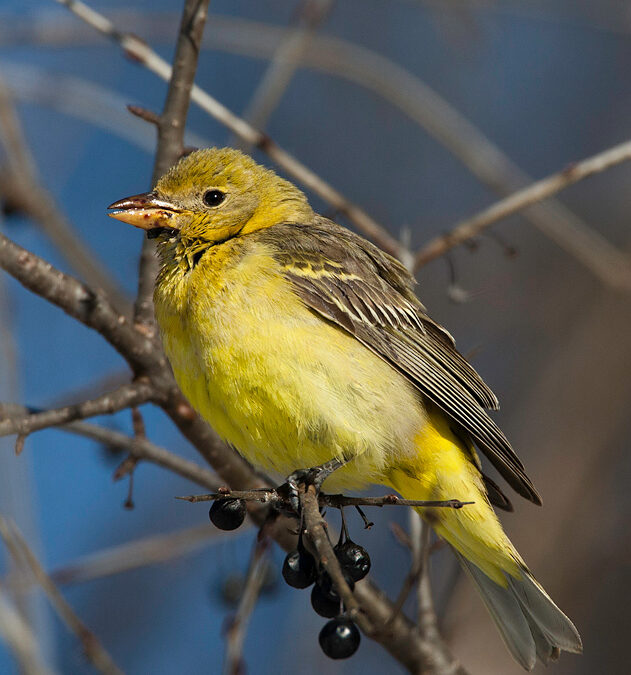
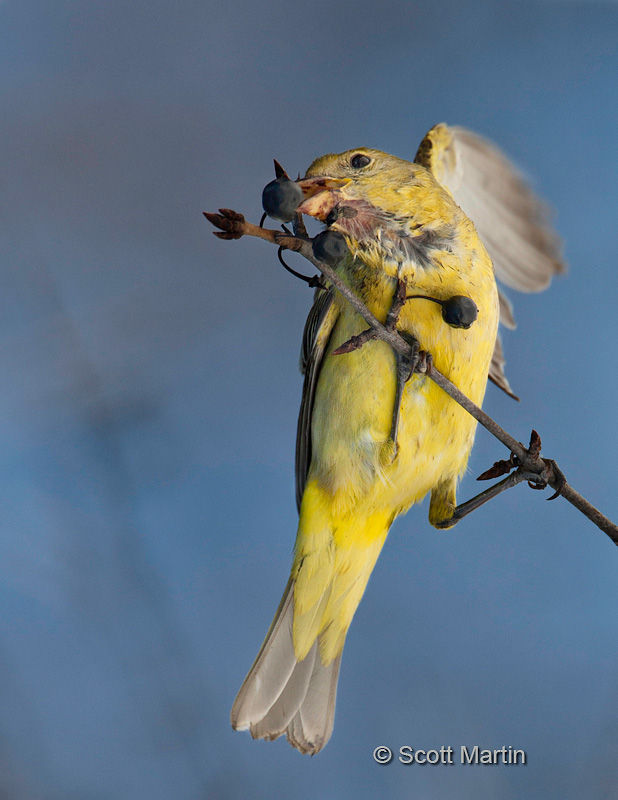
For the last couple of weeks our city has been home for a bird that is very rare in this part of North America, the Western Tanager. Yesterday I was able to catch some shots of her in good light on relatively clean perches; both of which are great joys for a bird photographer!
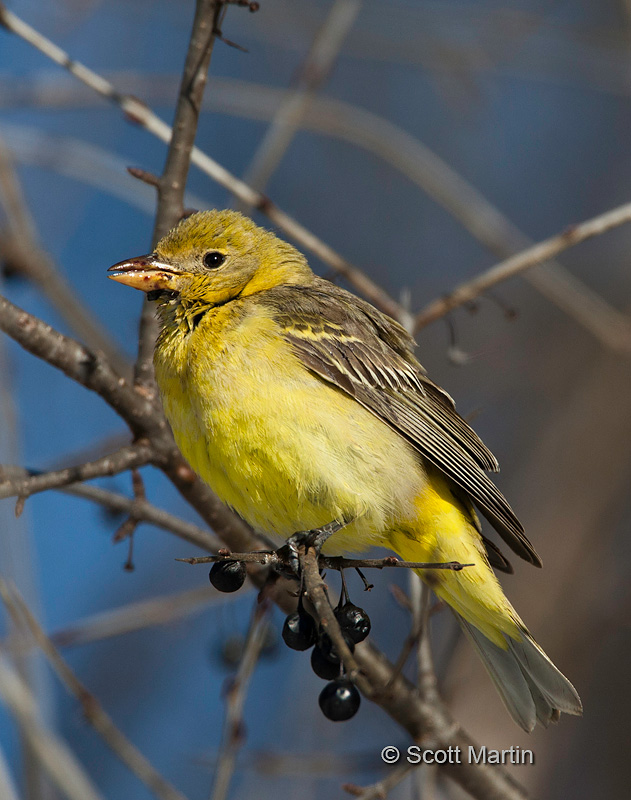
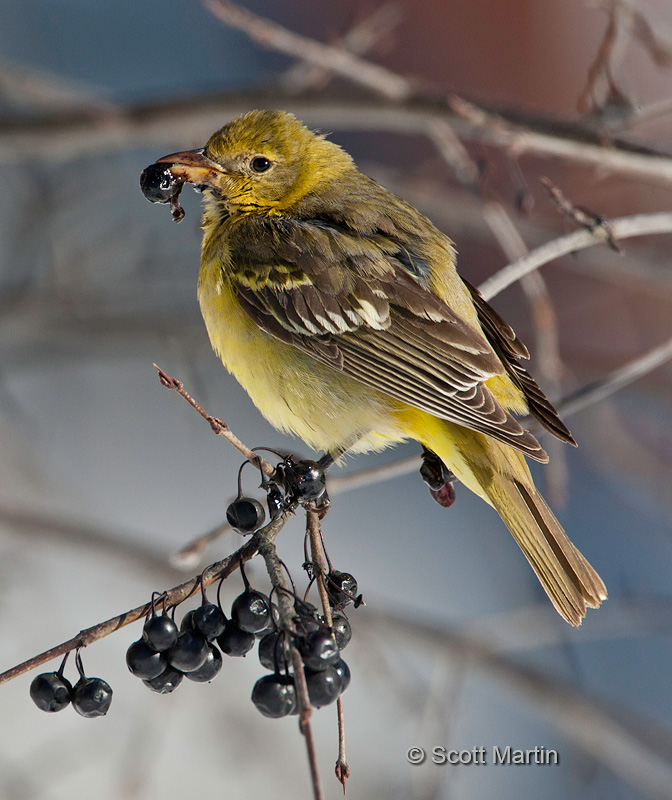
The Western Tanager is a fairly small bird generally about six inches long and weighing an ounce! They live on the North American west coast and migrating to South America for the winter. They are rarely seen east of the mid western States so when one shows up in Ontario it creates a lot of interest in the birding community with many people travelling hours to catch a glimpse. Fortunately this bird is less than five minutes from our house. Western Tanagers have bright yellow bodies with darker backs and their wings have two wing bars, an upper yellow bar and lower white bar which you can see on the image above. The male has a bright red head while the female’s is an olive-green colour. The following image also shows the distinctive wing bars.
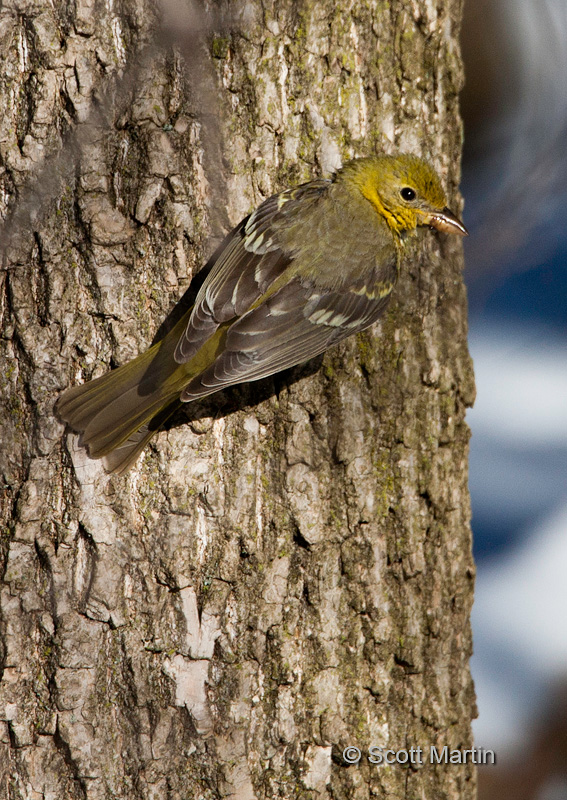
The Western Tanager typically feeds on berries and small insects, which it forages for on tree bark (as above) or, like swallows can catch in mid-flight. Given the cold weather & snow it is surprising this bird is staying around, however there are lots of berries in the area she is staying and given the fact she is thoroughly lost and on her own, she may not know which way to head so will choose to winter here as long as food is plentiful.
.
.
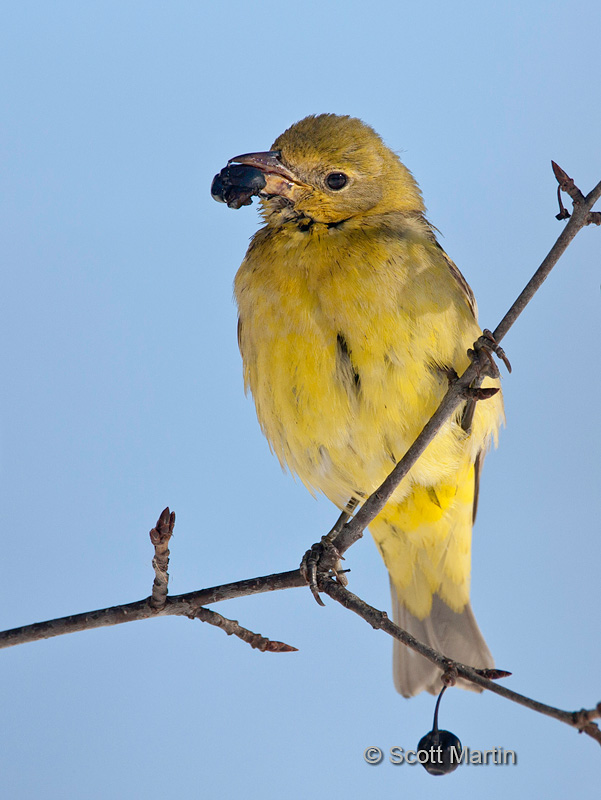
From a photography point of view, back grounds are almost as important as the subject in terms of getting the best photographic results. A nice perch and uncluttered back ground is generally the goal however almost impossible with the smaller songbirds which are usually foraging in bushes low to the ground. This Western Tanager was very cooperative and gave some good poses against a clear sky. Its imperative that you get the right exposure on the bird when shooting them against the sky and that typically means over exposing what your camera meter indicates by one or two f-stops.
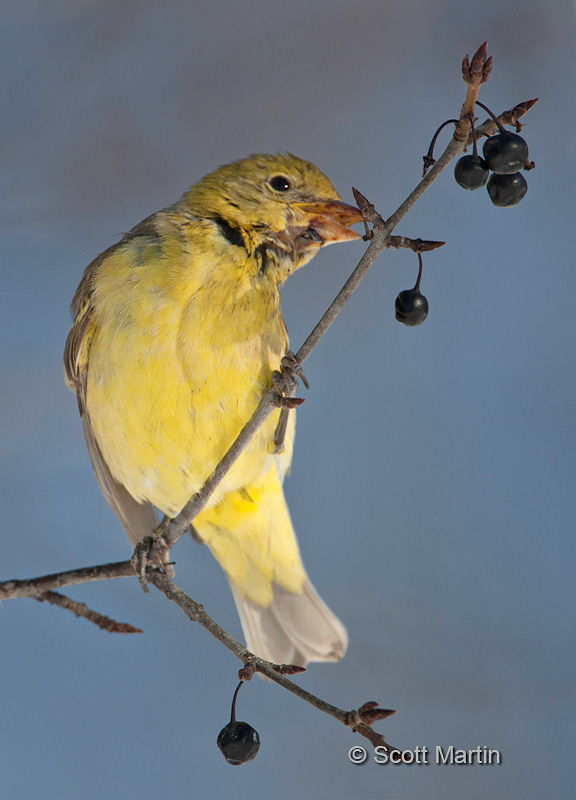
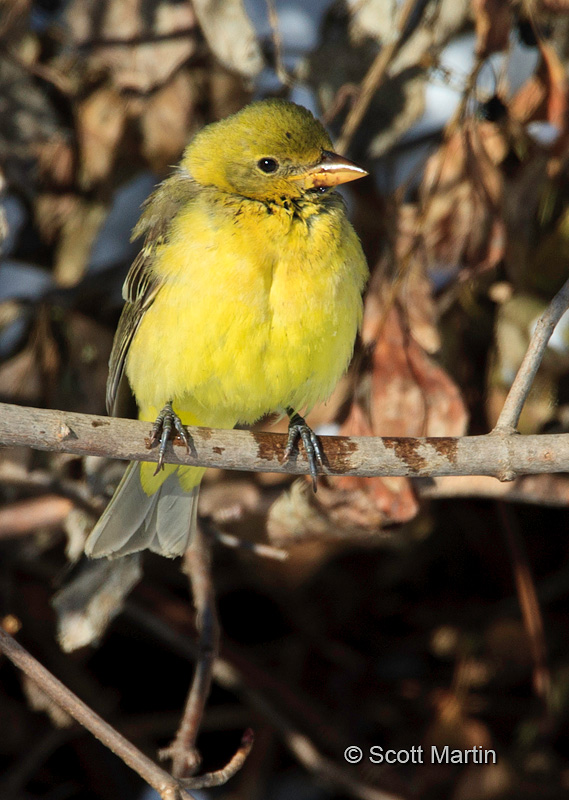
The last two images have busy back grounds however show the bird in a more natural environment doing what she does as much as she can, relaxing in the sun in a location sheltered from the wind and then enjoying another berry.
.
All of the images above were taken with a Canon 1D MKIII and 500 mm lens + 1.4x TC mounted on a Jobu monopod with a Jobu Jr. gimbal head.
Thank you to all my many friends who have taken time this past year to drop by and check out the website. Thanks also for your comments and questions which are always appreciated. To everyone, Deb & I wish a very Happy New Year and I look forward to hearing from all of you in 2013.
UPDATE January 3, 2013 – I’m sad to report that this bird was found dead yesterday in the park it had called home for the past couple of weeks. Not certain of the cause however it may have succumbed to the cold weather.
by Scott Martin Photography | Oct 21, 2012 | Blog, Cityscapes, General, Landscapes, Travel
It has been far too long since my last blog post and I apologize for the tardiness, however there will be lots of material coming over the next few months.
Presently Deb and I are enjoying a vacation celebrating our thirtieth wedding anniversary. Its been a fabulous thirty years and the time has flown by but that’s what happens when you are married to your best friend! We arrived in Rome just over two days ago and are now enjoying our first of two nights in Venice. In the morning we are meeting up with Marco Secchi for a photographic tour of Venice. We can’t wait as Marco shows us the sights of Venice from a professional photographers standpoint, and as a photographer who grew up and lives in Venice he is uniquely qualified to do so.
Although we won’t be able to post any DSLR shots while on vacation, Deb and I have been also snapping away with our iPhone’s and they really do remarkably well. I have already posted some of the images taken so far onto the Scott Martin Photography Facebook page and if you haven’t already done so, please ‘like’ this page and check out some of the images from Europe. There are some images of the Colosseum and St. Peter’s Square in the Vatican.
45.44141812.328264


Follow Scott Martin Photography