by Scott Martin Photography | Jan 23, 2013 | Blog, Cityscapes, Educational, Landscapes, Travel
After flying all night from Toronto and arriving in Rome early in the morning, we checked into La Piccola Maison (a perfect place to stay in the heart of the city within walking distance of everything) and then headed for the Colosseum where we spent the rest of the day. Our path to the Colosseum took us right by the Trevi Fountain where we stopped and had our first gelato!
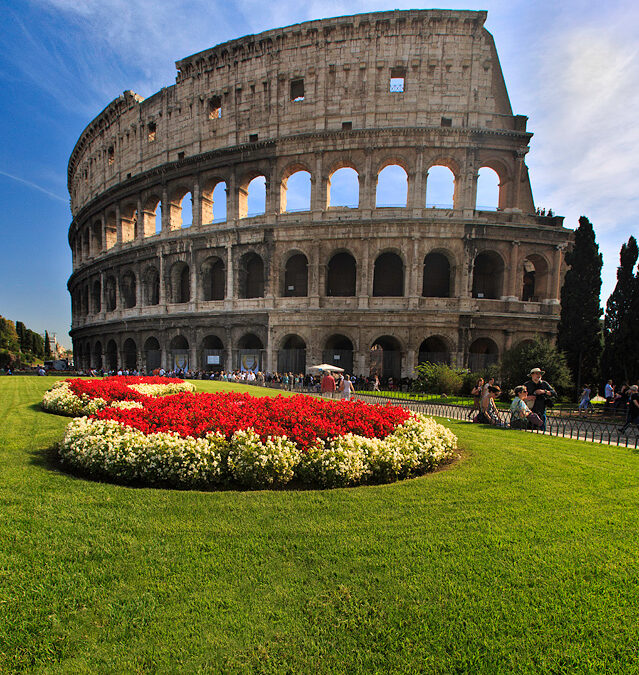
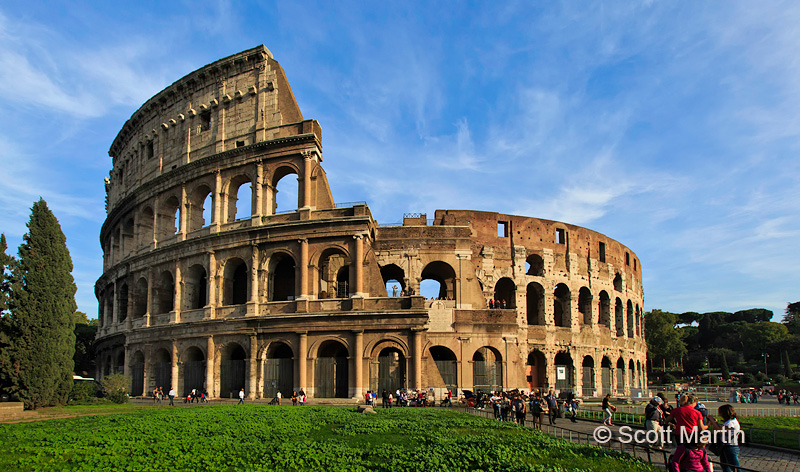
It was quite the feeling to be walking along the Via Dei Fori Imperiali and see the Colosseum coming into view for the first time, certainly the oldest structure we’d ever seen, having begun construction in 72 AD and completed under Titus in 80 AD. Here are our first views of the Colosseum.
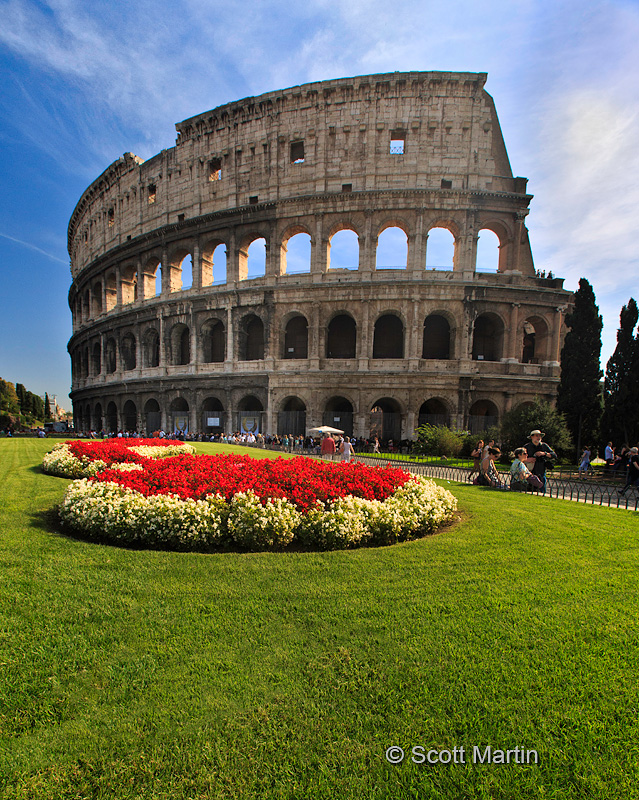
.
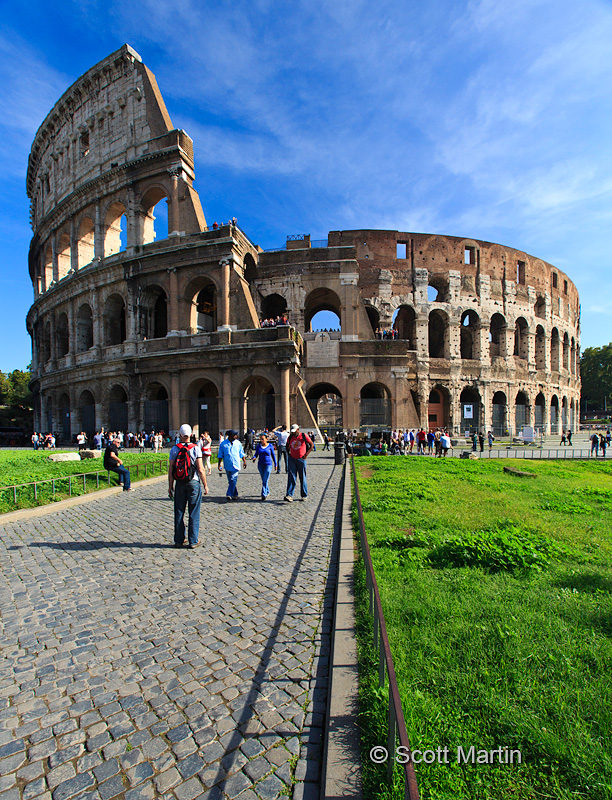
The Colosseum is a huge oval amphitheatre capable of seating 50,000 spectators. It is 615′ long, 510′ wide and stands 157′ tall, having a base that occupies more than six acres. The outer walls were made of travertine stone and no mortar was used in the construction. The stonework was held together with bronze clamps, most of which have been pried and torn out for other uses. This has resulted in the pock marks that remain today as seen below.
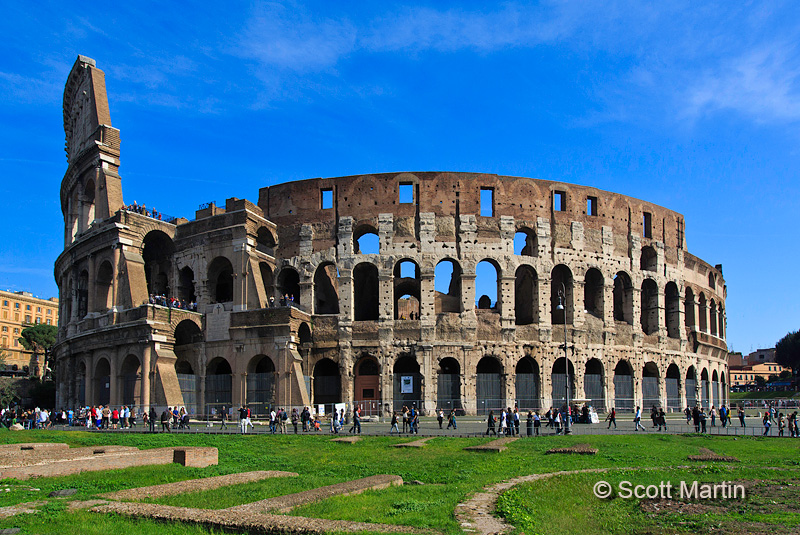
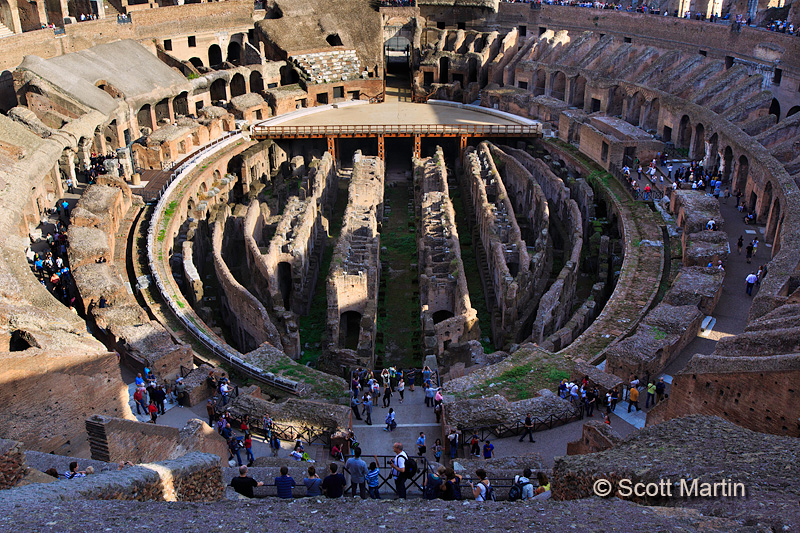
The interior floor of the Colosseum measures 287 x 180′. The floor was a wooden floor covered by up to a foot of sand. Our tour guide relayed the morbid information that the sand was required to absorb the blood shed in Colosseum events, both of wild animals and humans. It is recorded that 9,000 wild beasts were killed in the inaugural event in 80AD. Below the wooden Colosseum floor is the two-story area known as the hypogeum, which is shown next. The East end of the floor has been re-created, leaving most of the hypogeum visible.
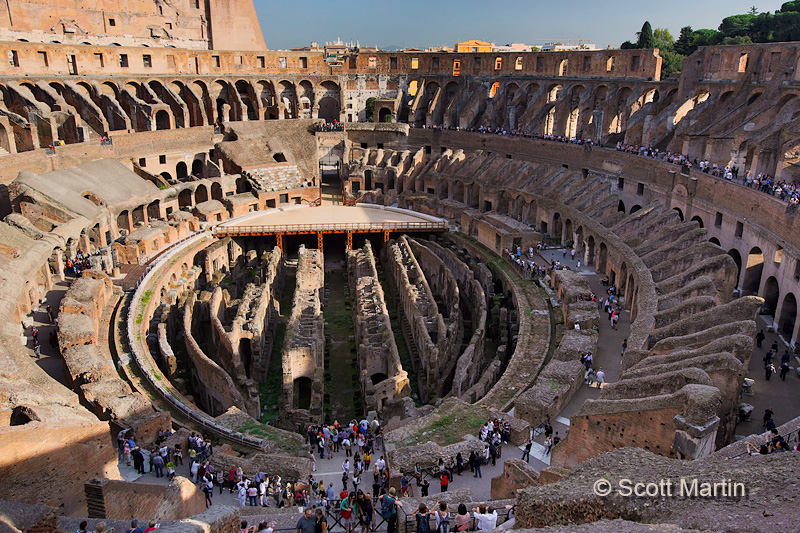
.
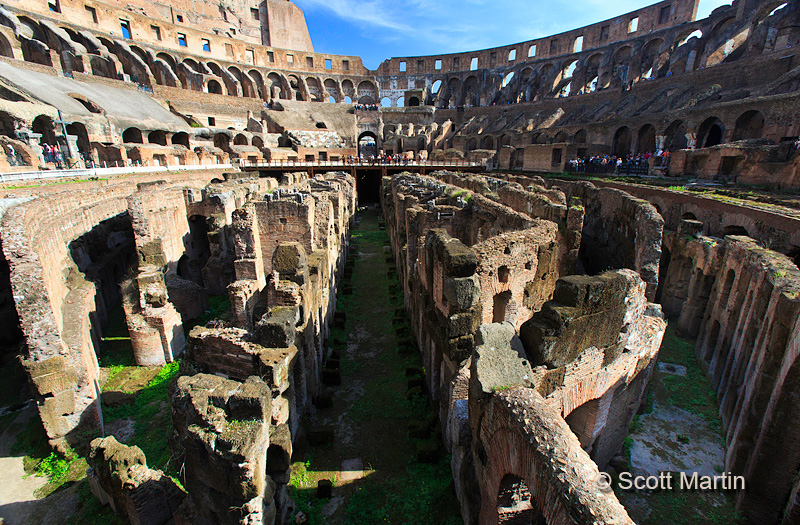
Until last year access to the hypogeum was not possible, however by purchasing special tickets you are now able to join a guided tour of the hypogeum as well as go up to the third level of the Colosseum, neither of which are possible with the general admission ticket. Although it more than doubled the cost of visiting the Colosseum it was an amazing experience to go down below the floor level into the hypogeum. Unfortunately the images you will see can not come even remotely close to portraying the feeling you get while standing there walking along the same pathways that countless Christians walked as they headed to the elevators used to push them up onto the arena floor where they were killed for sporting spectacle before 50,000 people.
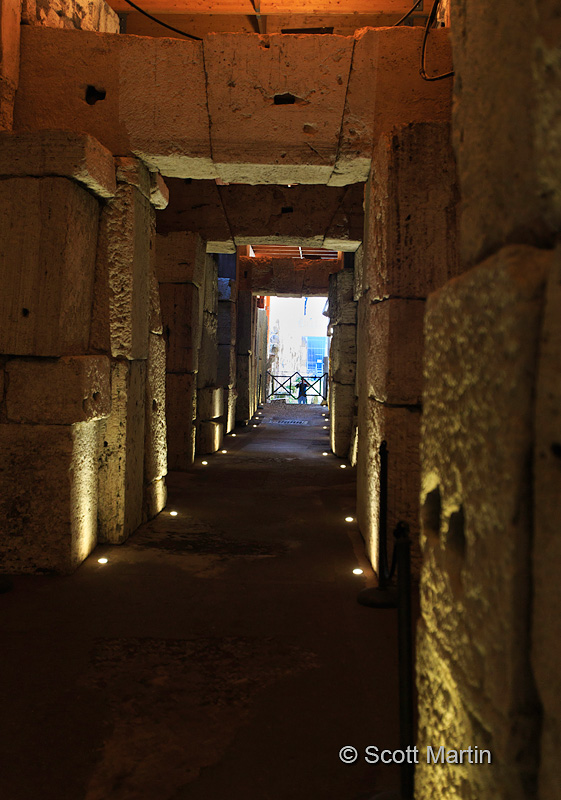
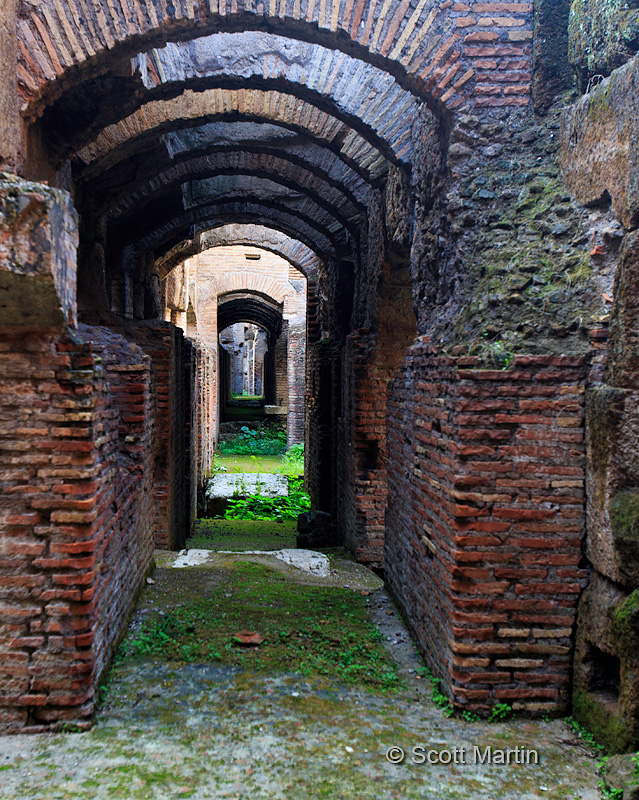
(Aside: A couple of things to note regarding the above photograph, the first being the lack of mortar and the use of keystones in the arches of the walkway to provide the necessary structural integrity. Secondly this shot was taken as an ‘in-camera’ three shot HDR, meaning that with one press of the shutter, the camera takes three images, one at the metered exposure, one (in this case) three stops underexposed and another three stops overexposed. The camera then combines the three images into one new image and deletes the three originals. This HDR (High Dynamic Range) technique has been in use for years however the processing was always done on the computer using Photoshop and taking a lot of time. With today’s new cameras it can be done in a few seconds right in the camera.)
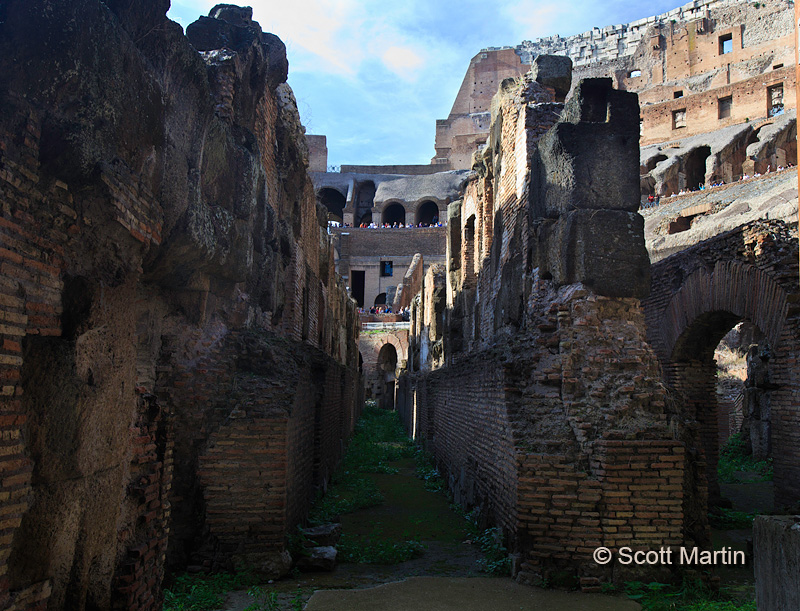
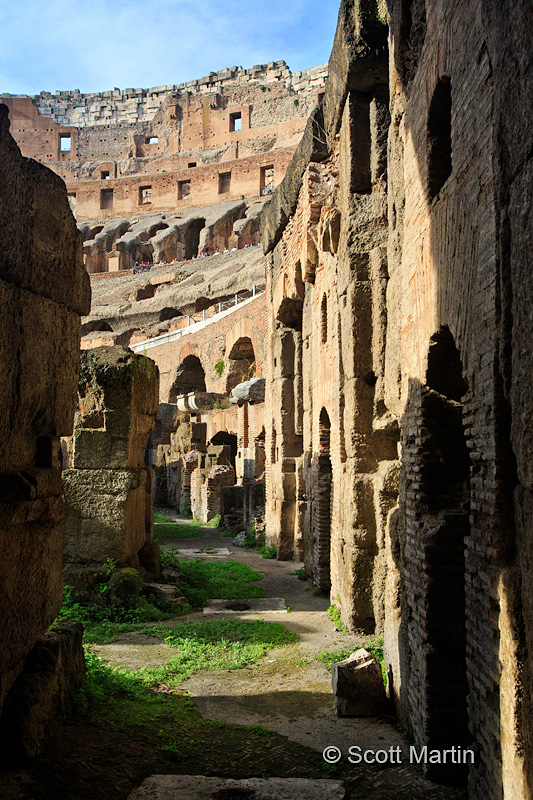
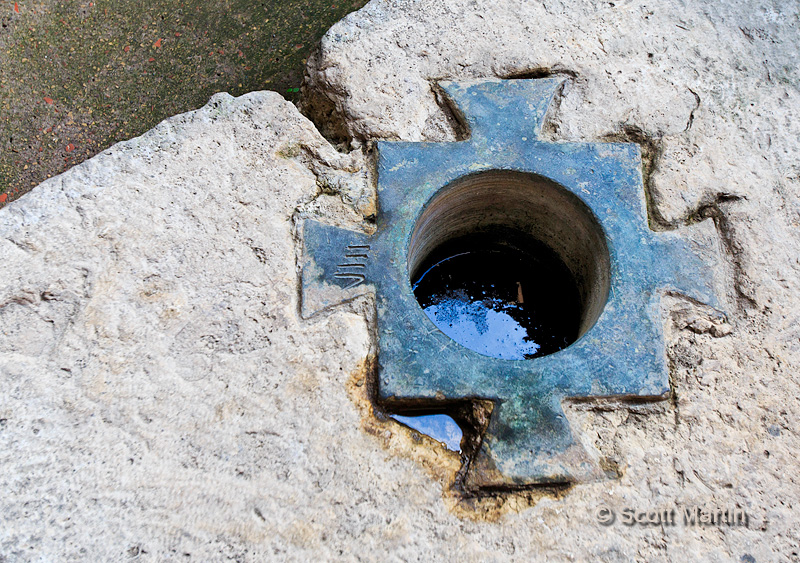
The next image shows the outer wall of the hypogeum and along the pathway you can see travertine slabs which are bases for a complex elevator system that was used to move wild animals, people, and large stage props, from the hypogeum up onto the arena floor. It is thought that the elevators were moved by rope and pulley systems that were manned and operated by slaves who either lived in the hypogeum or were brought in through tunnels to work the elevators.
A close up of an elevator shaft support, this one is #8 of eighty found in the Colosseum.
It’s hard to believe this walkway is almost two thousand years old.
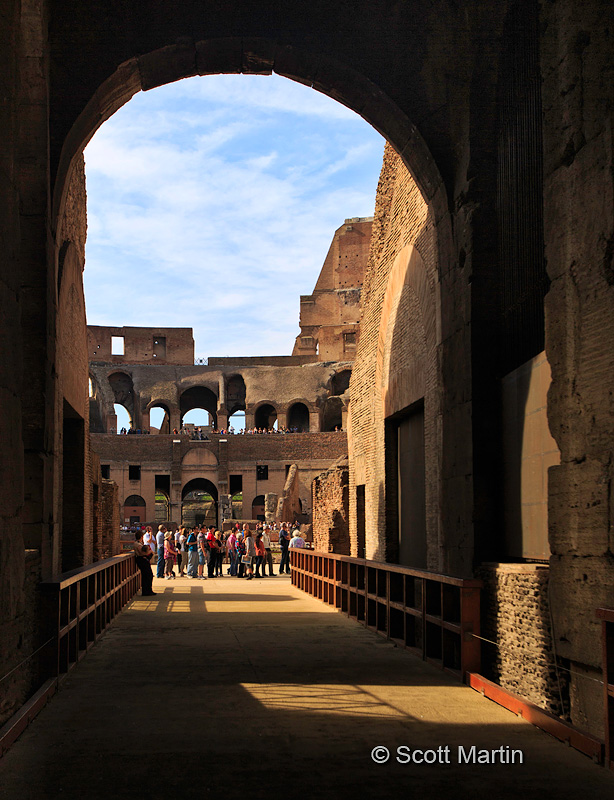
The Colosseum was known for its ability to quickly get spectators into and out of the building, in fact there are eighty arches leading into the amphitheatre, seventy-six for regular people and four large arches for the elite. Below is the East arch, through which the Senators entered and headed to their private seating area, which is shown in the second image below. Each white marble slab is the base for a senator’s chair and many of these slabs have the various senator’s names engraved on them. You can also see the senator’s seating area and the East arch in the fourth and fifth images in this blog post.
.
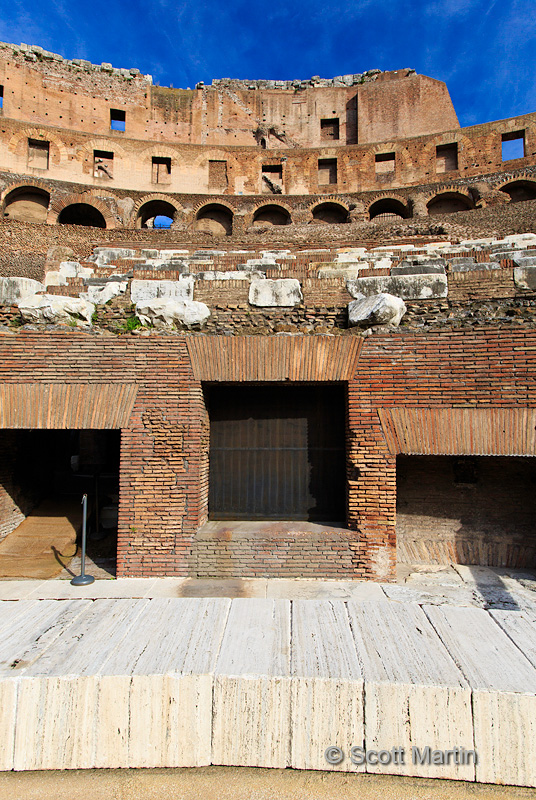
Here is one of the much smaller 76 entrance arches used by the commoners.
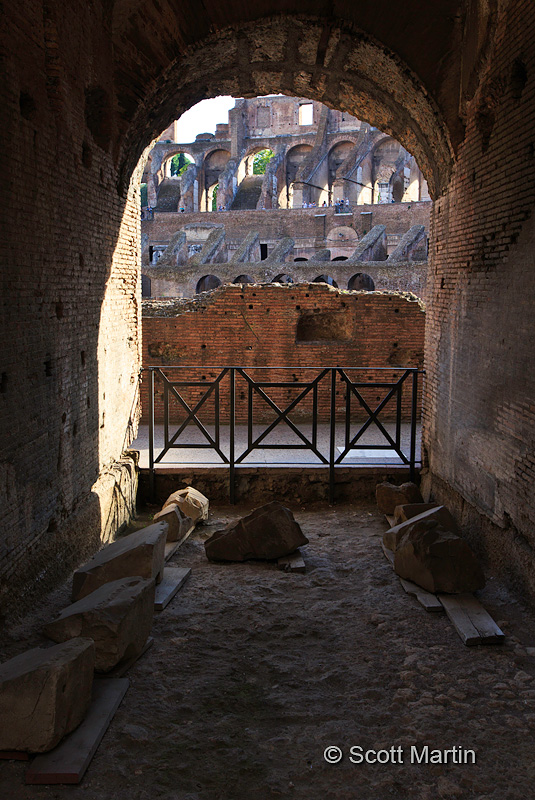
The climb to the third level of the Colosseum provided a wonderful birds eye view of the amphitheatre.
Another view from the stairwell between the second and third levels.
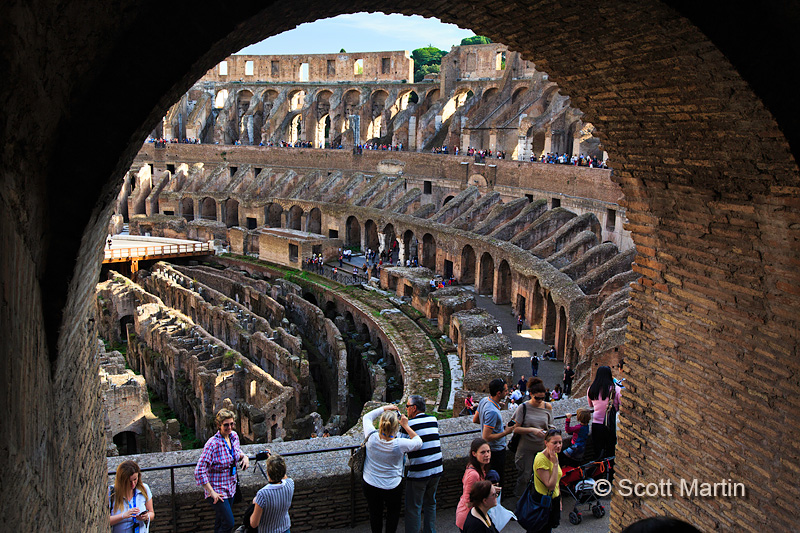
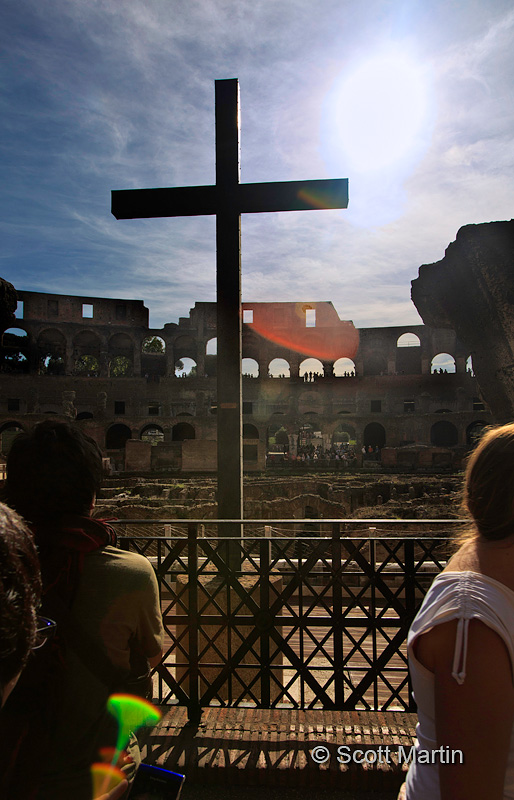
The last gladiatorial fights were circa 435 and the last recorded animal hunts around 523. By the end of the sixth century a church was incorporated into the Colosseum and a cross erected for the first time. Since then the Colosseum has been used in many different ways and certainly makes for interesting reading if you are so inclined.
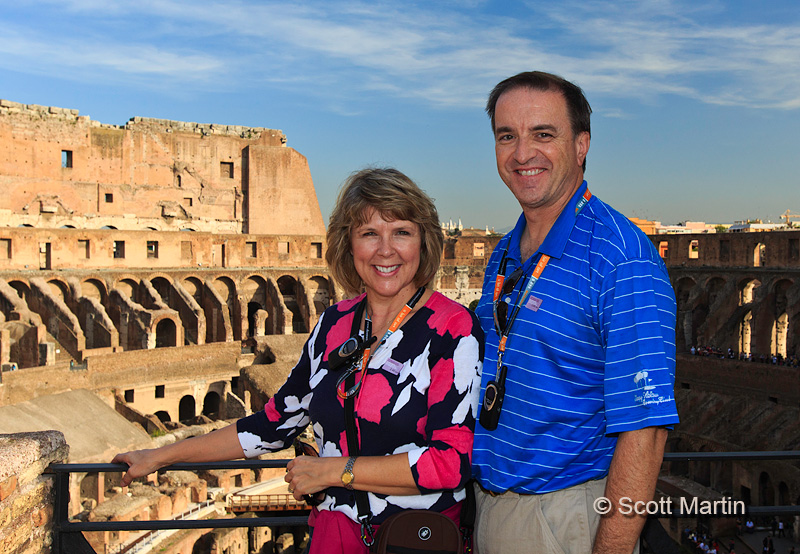
Our first day in Rome was terrific and spending a few hours in the Colosseum was an experience like none other. We even took time to pose like the tourists we were!
One final shot of the Colosseum.
All of the images taken in this post were with the Canon 5D Mk III and either 16-35 or 24-105mm lenses. Larger size versions of the images in this post can be seen in the Rome gallery.
Thanks for taking time to look through these images of the Roman Colosseum and as always your comments are much appreciated.
by Scott Martin Photography | Jan 3, 2013 | Blog, Cityscapes, Educational, Landscapes, Travel
Last fall Deb and I celebrated our thirtieth wedding anniversary touring though as much of Europe as we could possibly cover in seventeen days. It was a fabulous trip that saw us accumulate over 4,500 km on our rental car and see so many fabulous sights that had it not been for photographing as much of it as possible we surely couldn’t remember everything! Over the upcoming weeks we will try to post some of the highlights of our trip on the blog and will also post the images in the travel section of the website gallery.
We began our trip in Rome and spent our first afternoon in Italy touring the Colosseum, which was a truly amazing experience. The emotions you feel as you are guided through the hypogeum (underground levels of the Colosseum) are indescribable as you recall in a way that is not possible by reading a book, or studying in school, the events that occurred in the very place you are standing some two thousand years ago.
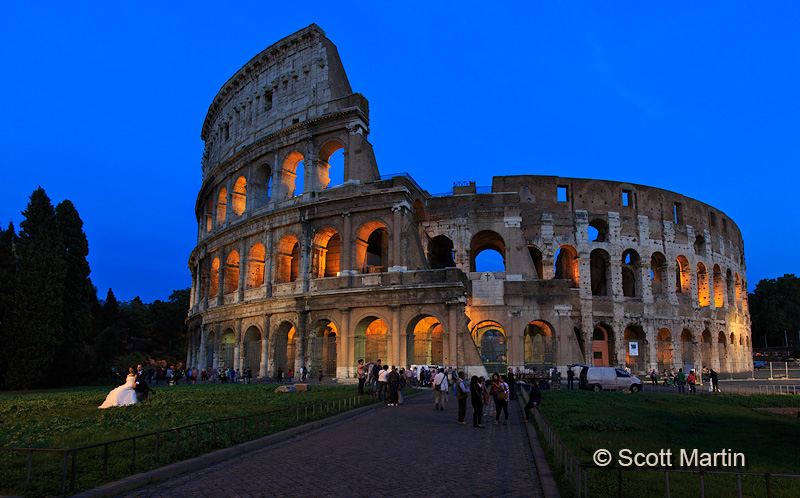
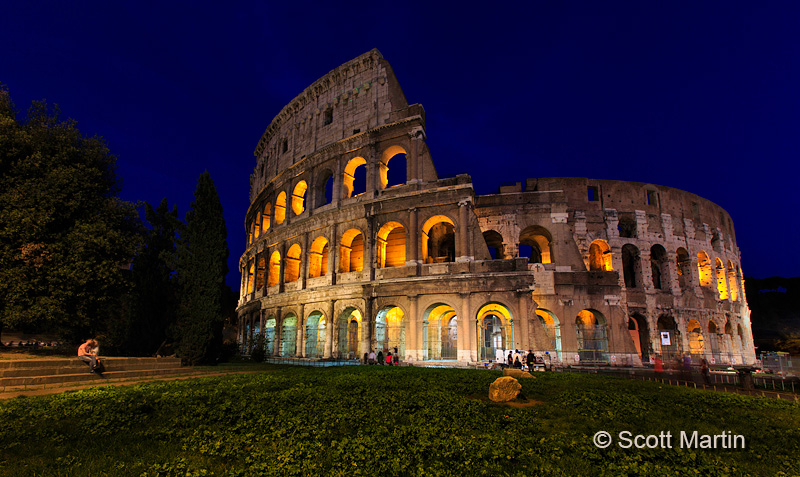
The next blog post will include more of an informative photographic description of the Colosseum and its history however for now I would like to post a few images of the Colosseum taken at night. They are posted in chronological order so you can see the sky darkening in each image.
Night photography is a lot of fun and as long as you have the correct equipment and know a little of the technical fundamentals it’s not very hard to get some interesting pictures. The most important piece of gear for night photography is a good tripod. It is impossible to hand hold a camera in the low light of the evening and get a good sharp image as the exposures required are just too long. From a technical perspective you may find the following helpful; try to take night shots while there is still blue in the sky as once the sky is black all detail is lost and the edges of the subject are lost in the darkness; use a low ISO (200 or less) to help reduce the noise in the image which is always more noticeable in the dark colours that dominate night photography; use a small aperture (f/22) for great depth of field so everything remains in sharp focus throughout the image. A small aperture also creates the starburst effect on light sources that many people enjoy seeing.
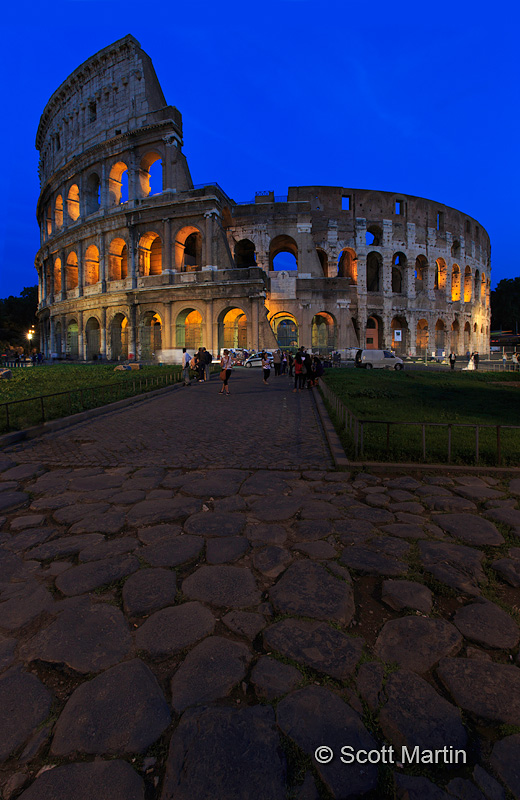
It is impossible to shoot the Colosseum without people milling about however you try your best to wait until there are no people in the foreground. In this case having a bride and groom in the picture adds to the appeal of the image.

Most night images are taken in landscape orientation however experiment with a vertical perspective as well, especially if you can incorporate something of interest in the foreground. In this case the large cobblestones which have probably been there for almost two thousand years….you cant help but wonder who has walked on those very stones.
.
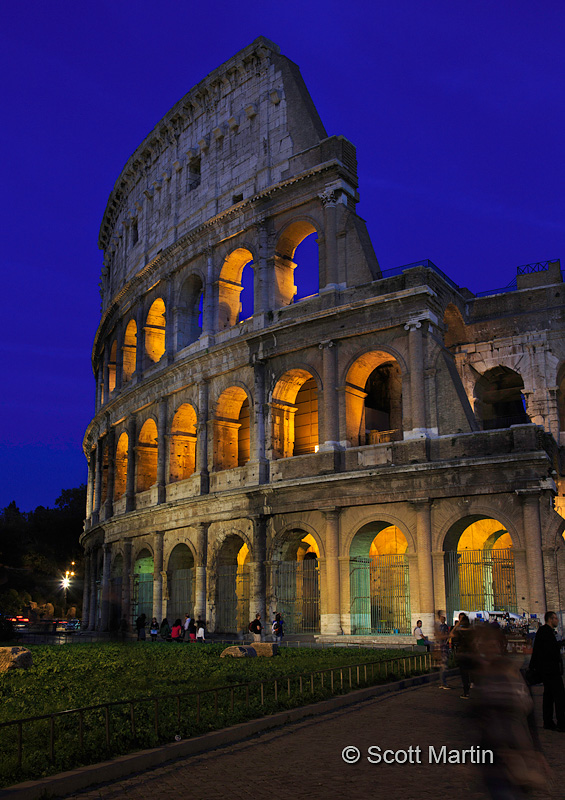
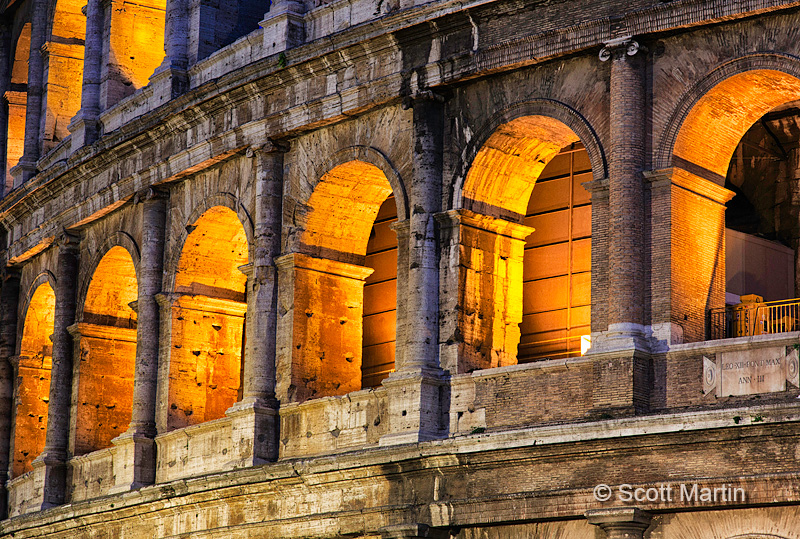
The next image is not in keeping with the others however is a reminder that it’s always good to experiment with different perspectives of the same subject when taking shots at night, even if it means changing lenses to zero in on a specific area that interests you. The next image has also been processed differently in an attempt to portray the age of the building.
.
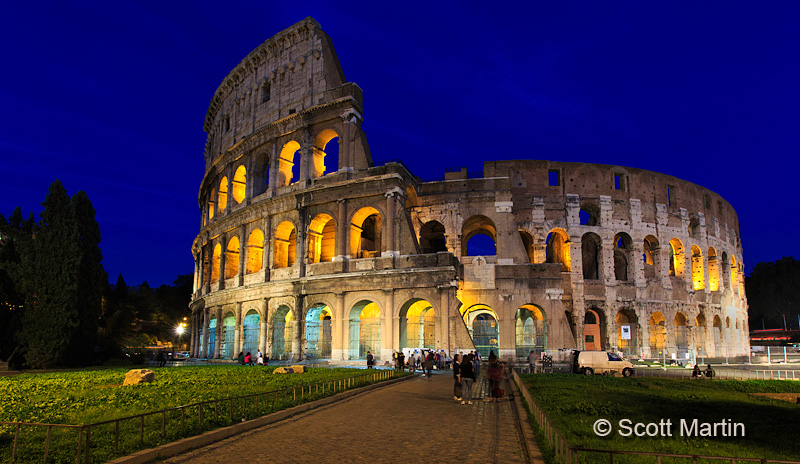
The next image was also designed to include the couple on the left and although they are very blurry because of the twenty-second exposure, they do add to the image.
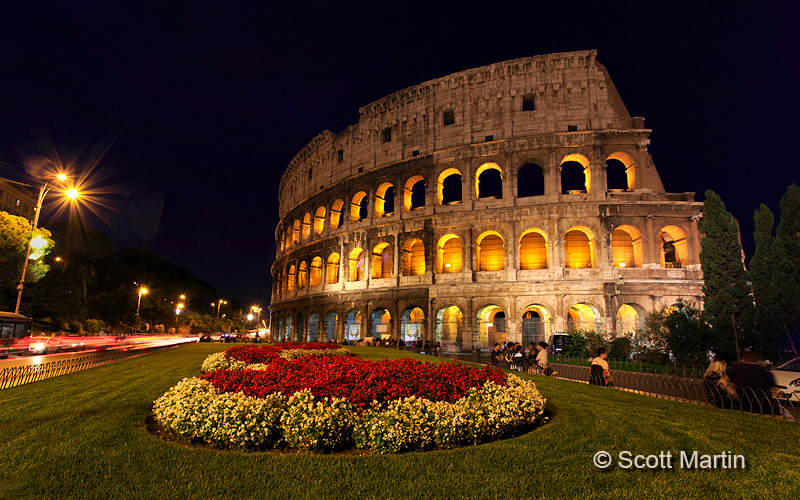
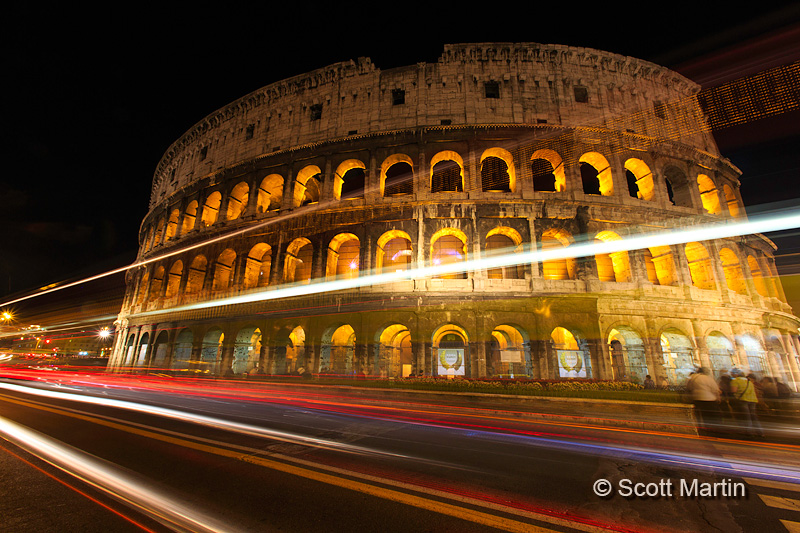
By now the sky is almost devoid of blue so its time to pack up or in this case move to another location and shoot images that don’t rely on the background to be effective. When the sky becomes black make sure you always have a foreground object that provides plenty of interest compositionally; the flower bed in the next image and the streaming lights from the traffic in the last.
.
All of the images in this post were taken using a Canon 5D Mk III on a Gitzo 1542T tripod using a 16-35mm or 24-105mm lens. If you have any questions regarding the taking of these images please leave a comment and I’ll be glad to respond. In the mean time, dust off that old tripod and start practicing night photography and I know you will be pleased withy the results.
by Scott Martin Photography | Oct 21, 2012 | Blog, Cityscapes, General, Landscapes, Travel
It has been far too long since my last blog post and I apologize for the tardiness, however there will be lots of material coming over the next few months.
Presently Deb and I are enjoying a vacation celebrating our thirtieth wedding anniversary. Its been a fabulous thirty years and the time has flown by but that’s what happens when you are married to your best friend! We arrived in Rome just over two days ago and are now enjoying our first of two nights in Venice. In the morning we are meeting up with Marco Secchi for a photographic tour of Venice. We can’t wait as Marco shows us the sights of Venice from a professional photographers standpoint, and as a photographer who grew up and lives in Venice he is uniquely qualified to do so.
Although we won’t be able to post any DSLR shots while on vacation, Deb and I have been also snapping away with our iPhone’s and they really do remarkably well. I have already posted some of the images taken so far onto the Scott Martin Photography Facebook page and if you haven’t already done so, please ‘like’ this page and check out some of the images from Europe. There are some images of the Colosseum and St. Peter’s Square in the Vatican.
45.44141812.328264
by Scott Martin Photography | Jun 1, 2012 | Blog, Landscapes, Naturescapes, Travel
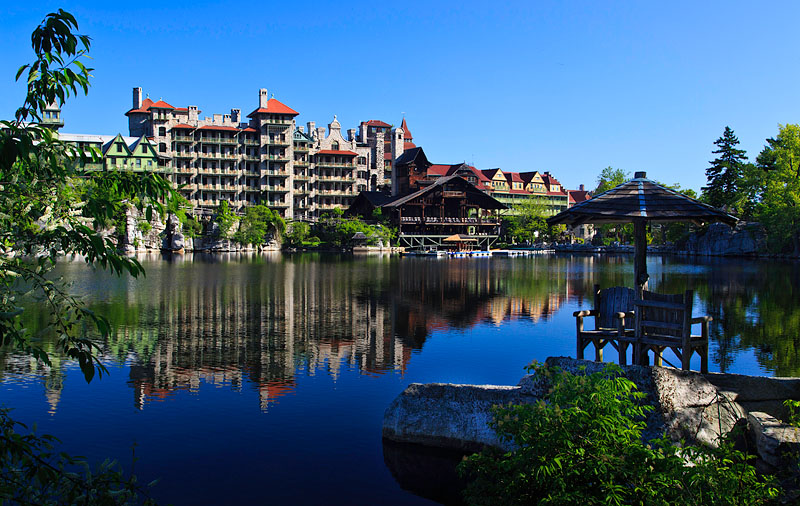
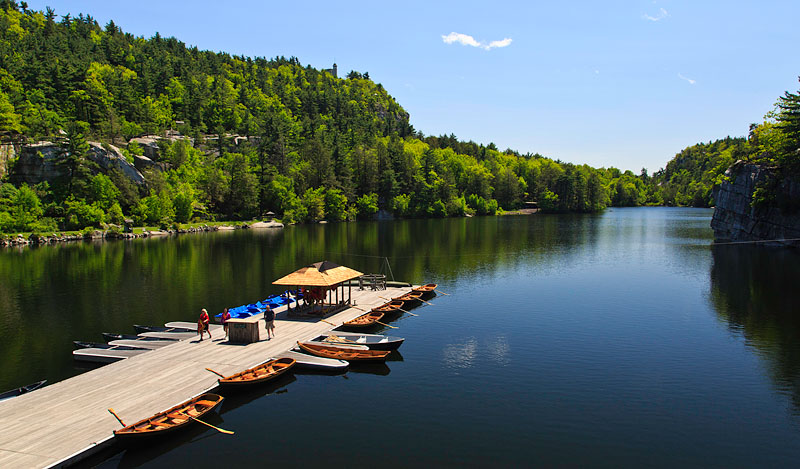
Deb & I spent a wonderful three days at the Mohonk Mountain House near New Paltz, New York which is about 85 miles due north of New York City. We were there over the Victoria Day Weekend along with about twelve other Chiropractors and their spouses to attend a coaching seminar with TLC 4 Superteams. TLC is one of the premier training organizations for chiropractors and it is a privilege to be one of their coaches; helping other chiropractors provide superb care for their patients.
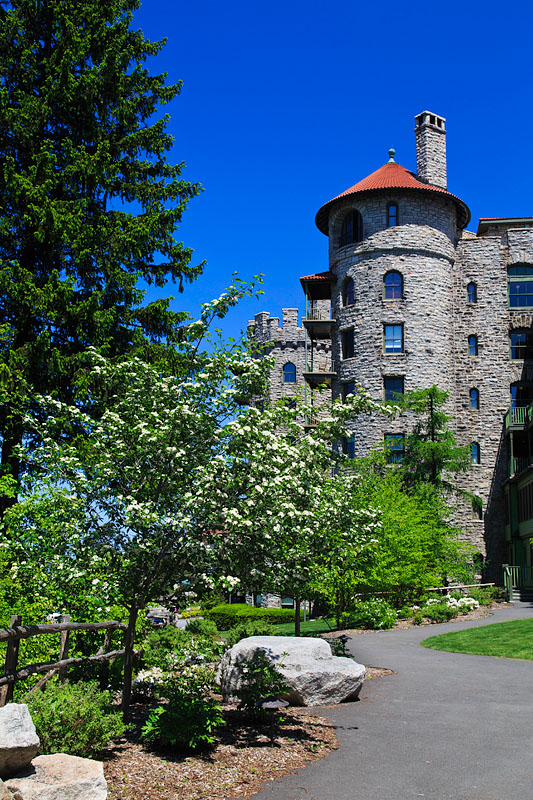
The Mohonk Mountain House is the #2 Ranked resort spa in the United States and it is well worth the trip if you are looking for a quiet place to get a way for a few days. The 266 room Victorian style lodge was built in 1869 and I believe has remained in the same family since that time. It has entertained presidents, celebrities and normal people like us over the years and offers a multitude of outdoor adventure activities as well as a world class spa to pamper you afterwards.
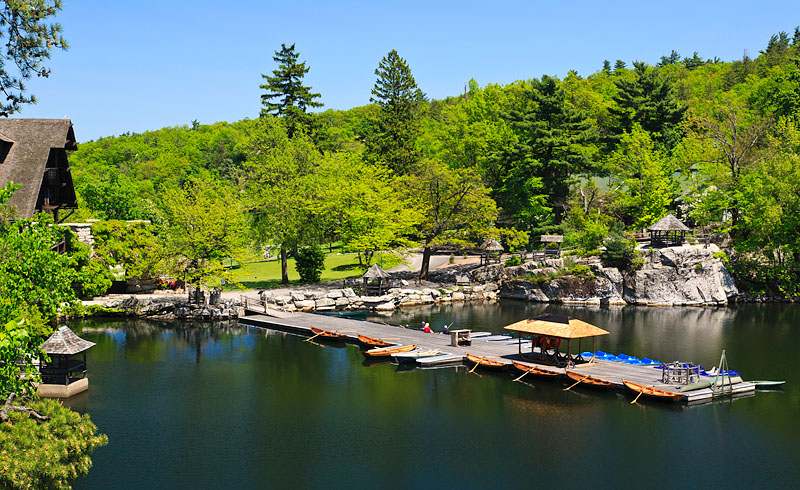
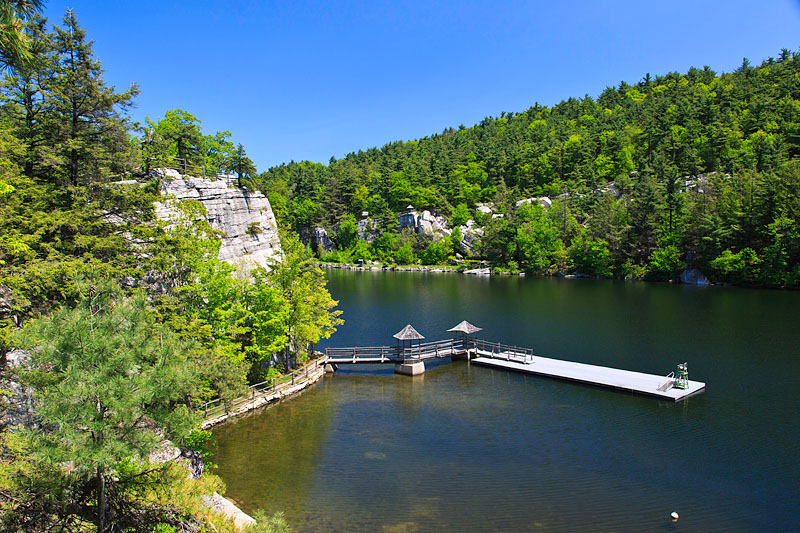
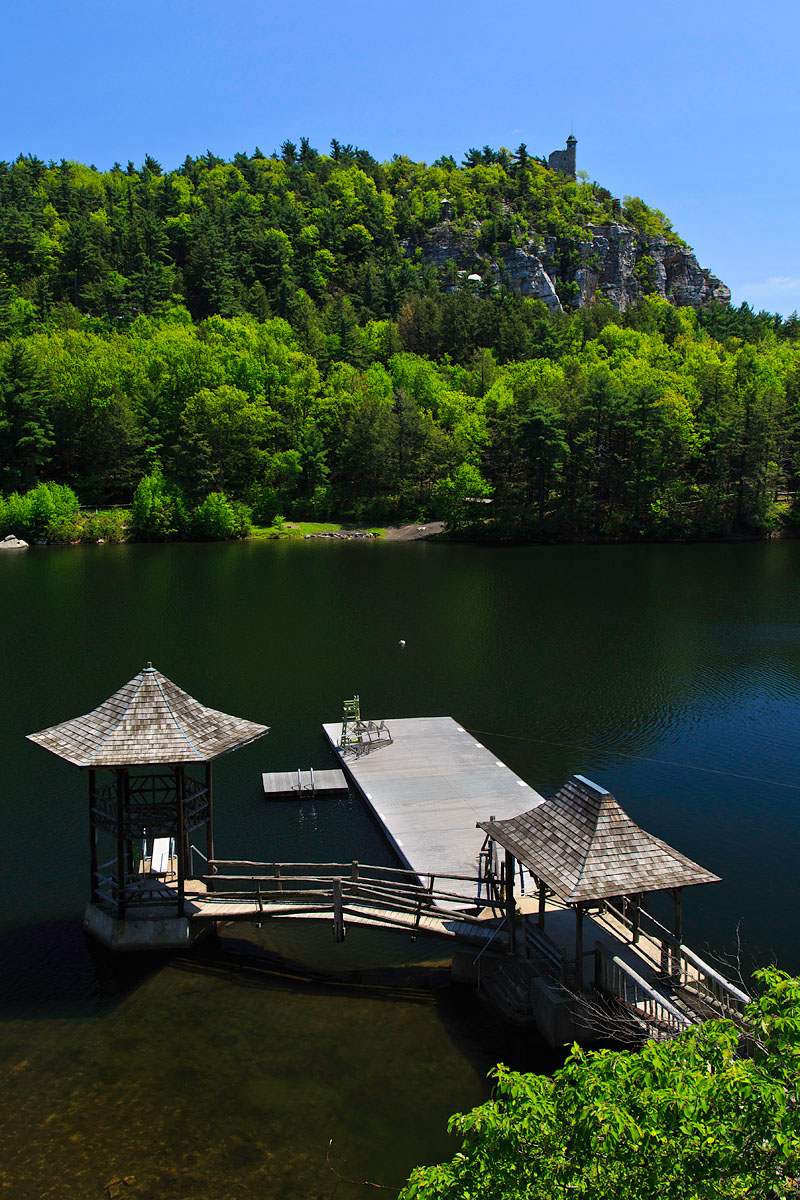
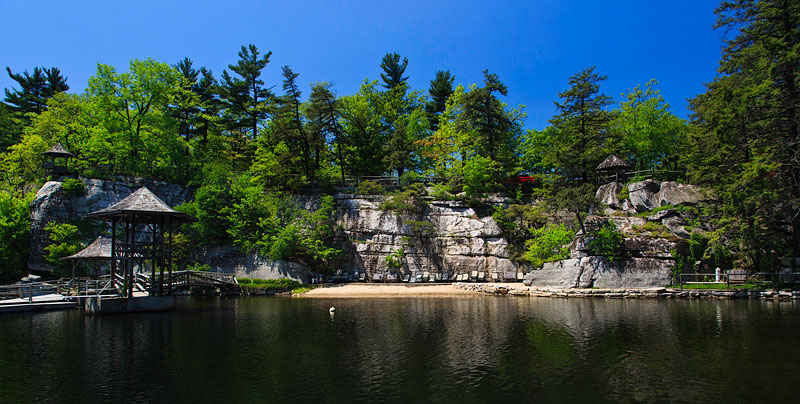
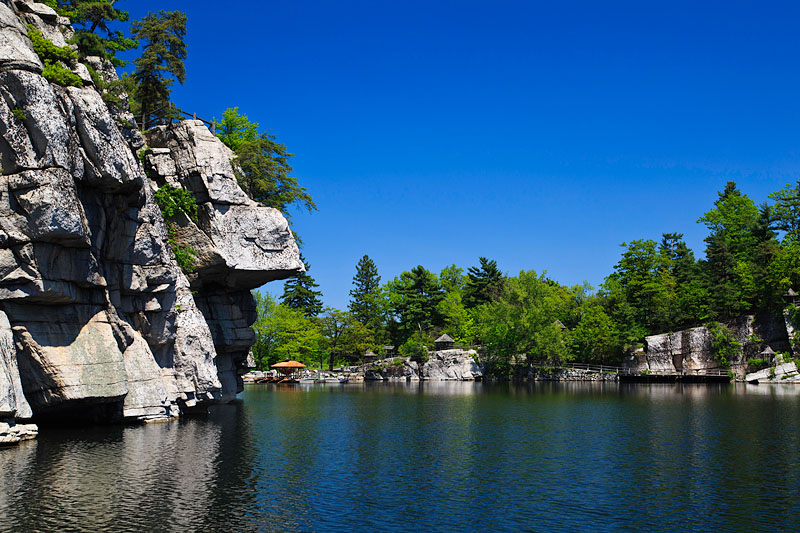
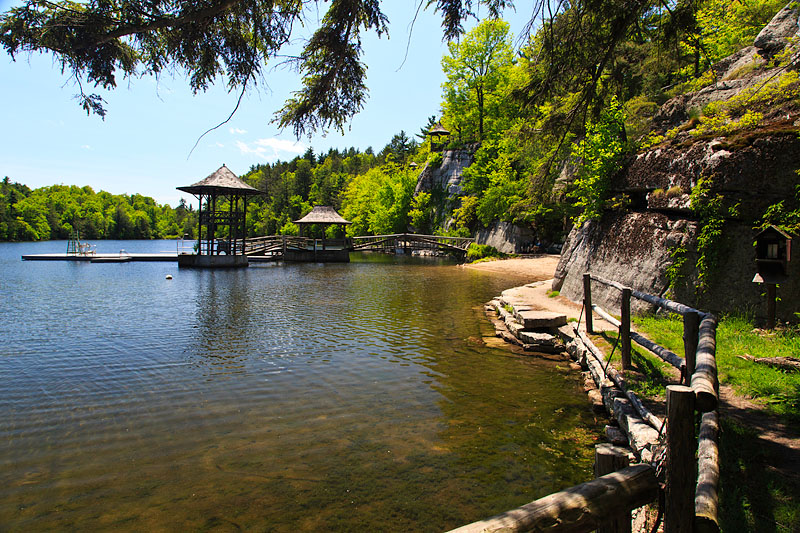
We didn’t have a lot of time for photography but thought you may enjoy a few snap shots taken around the grounds.
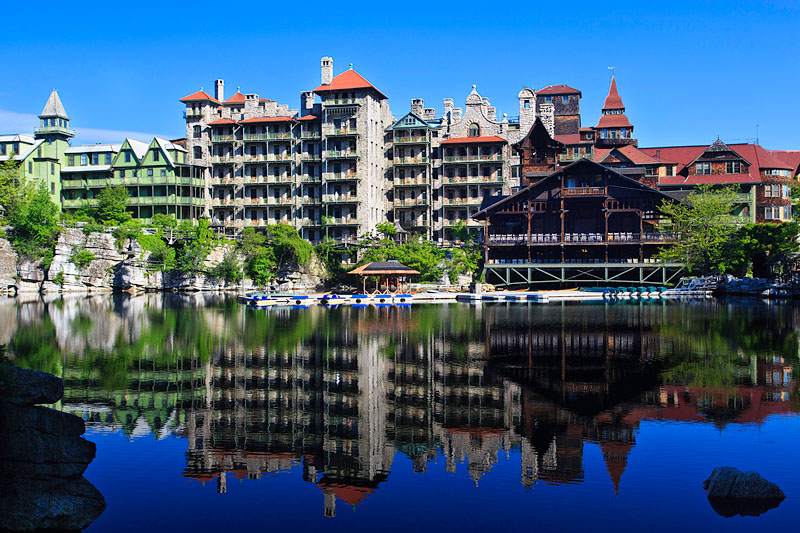
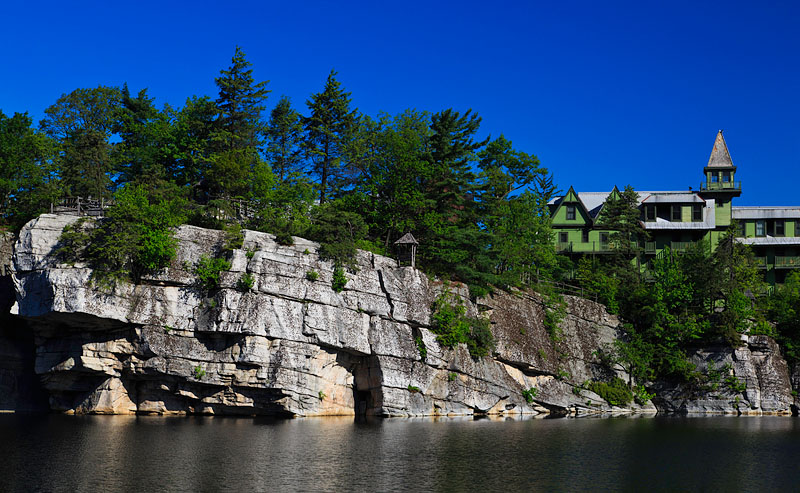
The main lodge taken from across Lake Mohonk

.
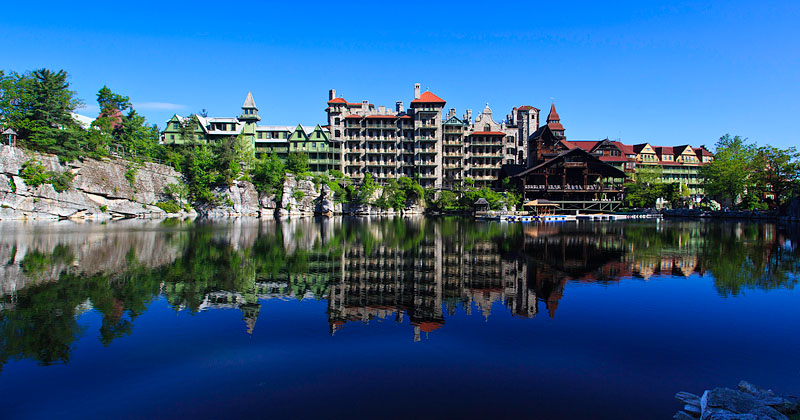
.
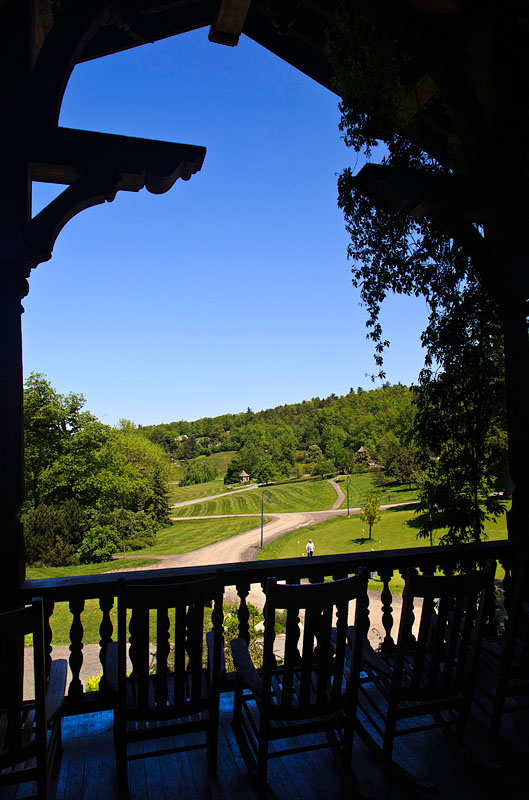
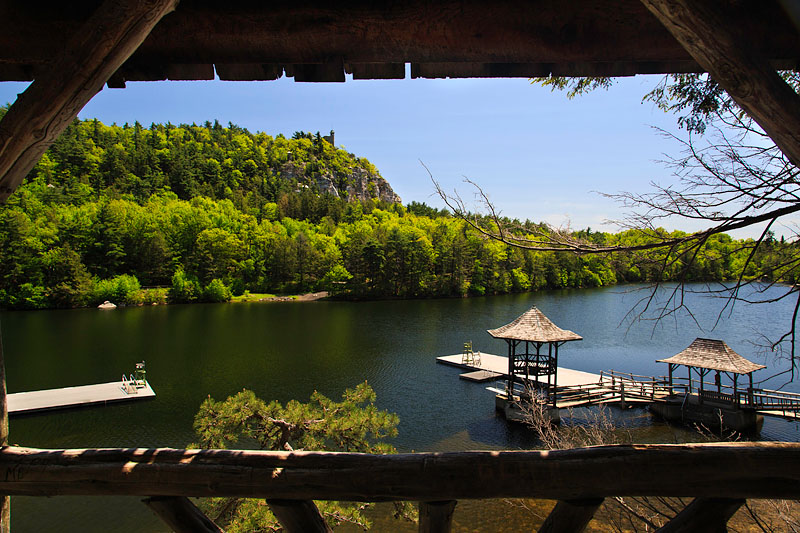
There were many gazebos and porches around the property which were perfect for reading and just relaxing and enjoying the view.
.
.
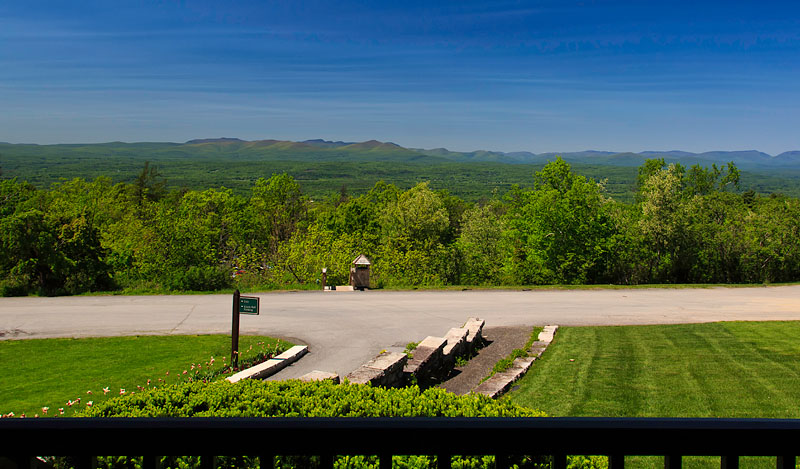
Looking out from the other side of the lodge provided a great view of the Catskills Mountains
.
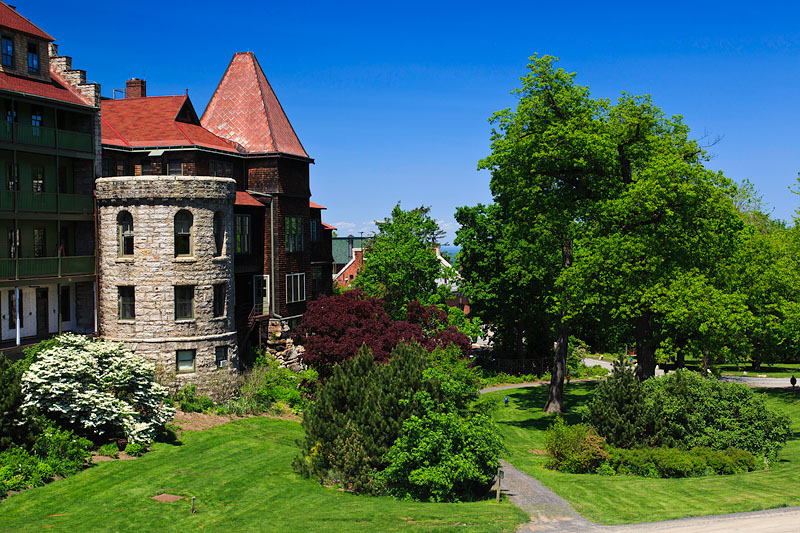
The view from the room.
.
.
.
.
.
.
.
All of these shots were taken with the 5D Mk III and either 16-35 or 24-105 lenses.
by Scott Martin Photography | Apr 9, 2012 | Blog, Landscapes, Naturescapes, Travel
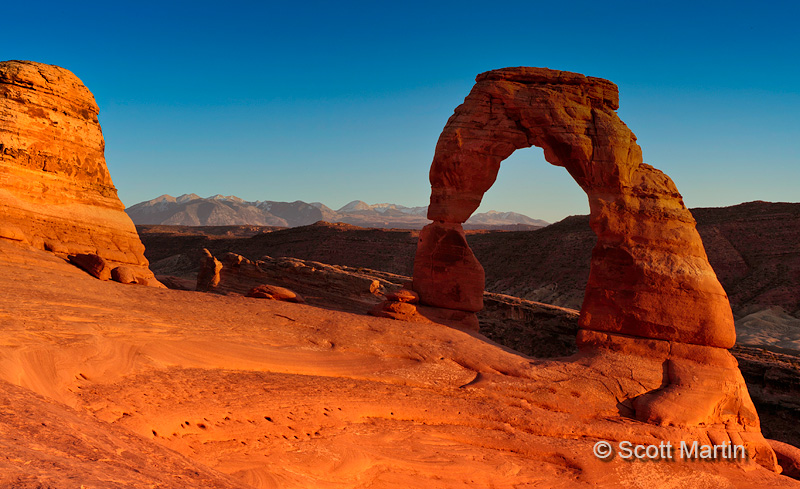
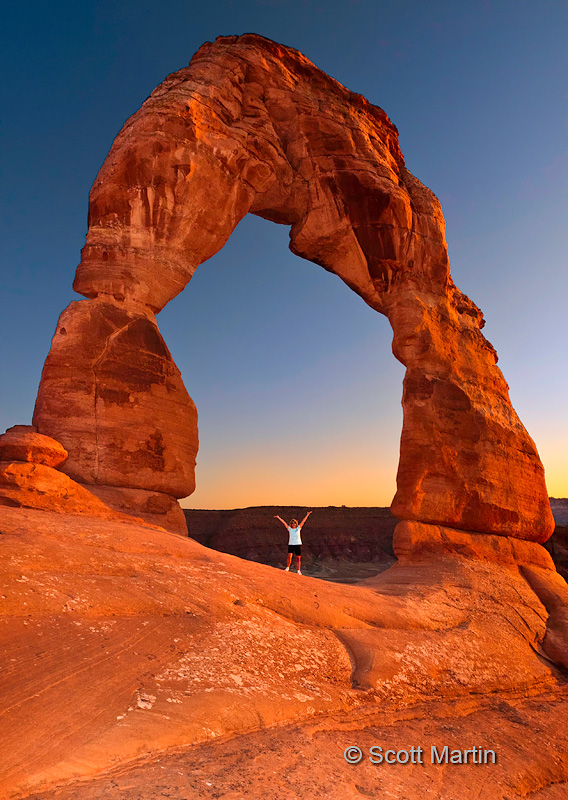
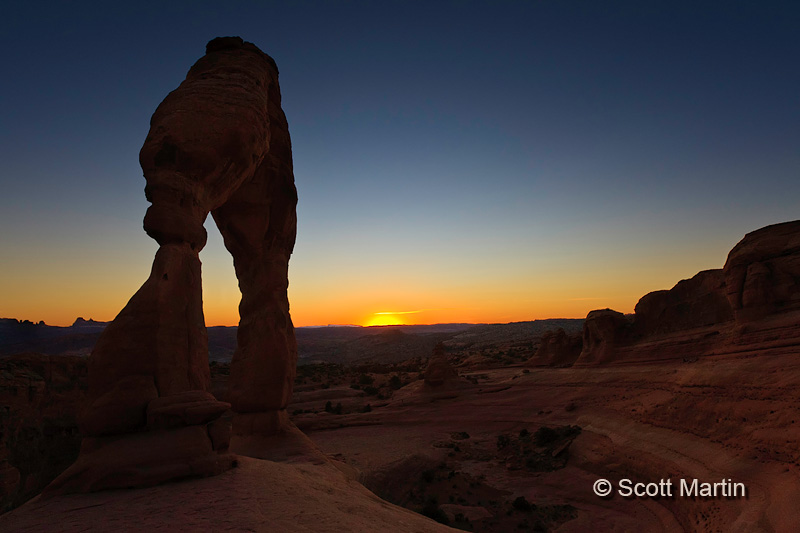
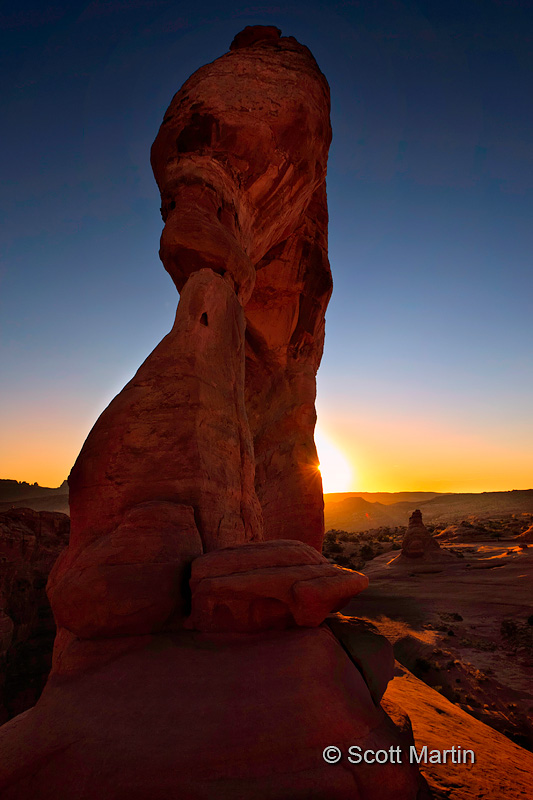
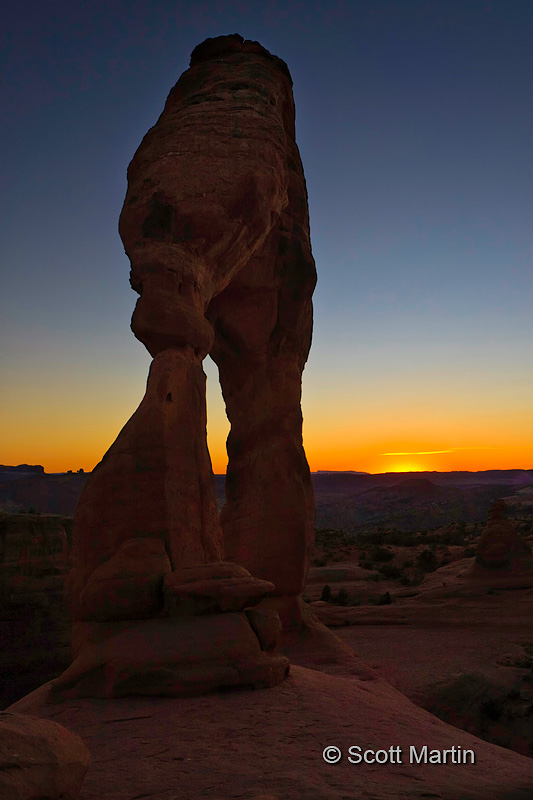
Arches National Park contains an incredible display of some of the most interesting geologic formations on the planet and as the name implies, many of them are aches. In fact, there are over two thousand natural stone arches in the park. Probably the most famous arch in the park is Delicate arch, which requires a little hiking to get to, however spending a sunset at the arch is certainly one of the best sunsets you will ever see.
Delicate Arch lies on the edge of a precipice about one thousand feet above a salt valley and can be viewed from either side of the valley, although from the opposite side of the valley you are probably a mile or so from the arch. Deb and I observed the arch from both sides of the valley, which made for an enjoyable afternoon of hiking, although carrying thirty pounds of camera gear felt like three hundred pounds by the time we were finished.
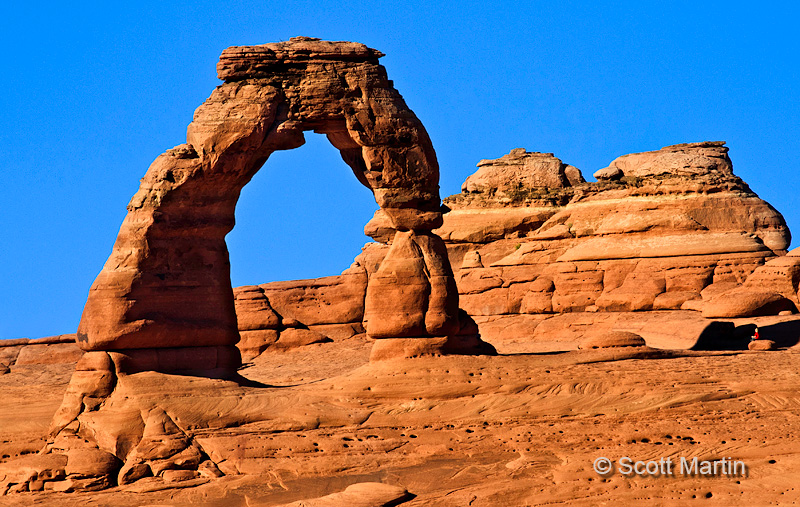
We first hiked the Delicate Arch Viewpoint trail, which is an easy 1.8 mile loop that gains about three hundred feet in elevation from the trailhead. The view across the salt valley to the arch is impressive however you will need a long lens to photograph the arch from this vantage point. This first shot was taken from the natural amphitheatre across the valley from the arch with a 400mm lens. The little guy in a bright red shirt sitting alone on a boulder looking at the arch makes this shot.

The hike to the base of the arch is a bit more arduous, and climbs about 500 feet over a trail that creates a round trip of just over three miles. It’s an interesting trail in that you don’t see the arch until the last few feet of the hike, but what an incredible sight when you come out from walking along a sandstone wall and catch that first view of the arch. About five hundred feet before reaching the top of the trail, your can see Framers Arch in the sandstone wall that blocks the view of Delicate Arch. You have to climb up the wall about twenty feet, but viewing Delicate Arch through Framers Arch makes for a good photograph.
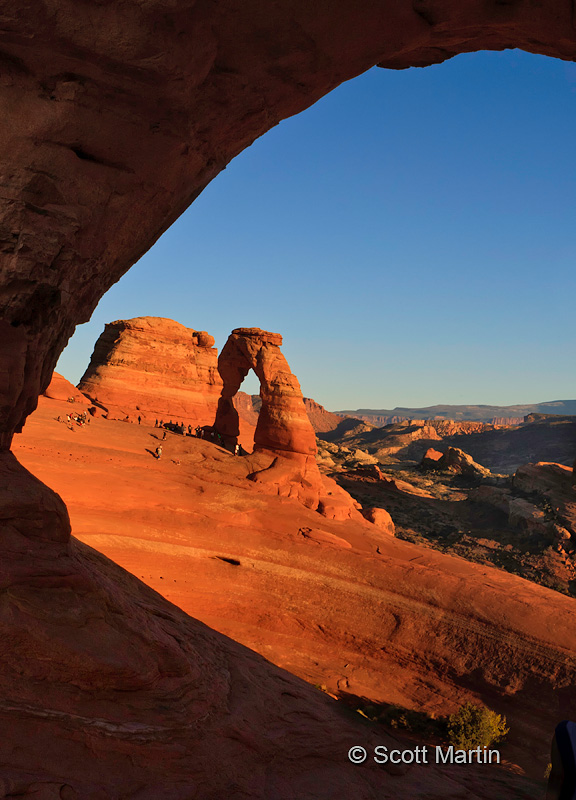
Delicate Arch overlooks a salt valley with the La Sal mountain range in the back ground.
As the sun goes down over the horizon the natural red rocks take on an amazing colour.
Sunset at Delicate Arch.
.
.
Seeing the Delicate Arch was one of the many highlights of our trip to the canyon lands area of the States and I trust these images encourage you to make the trip!
by Scott Martin Photography | Mar 2, 2012 | Blog, Landscapes, Naturescapes, Travel
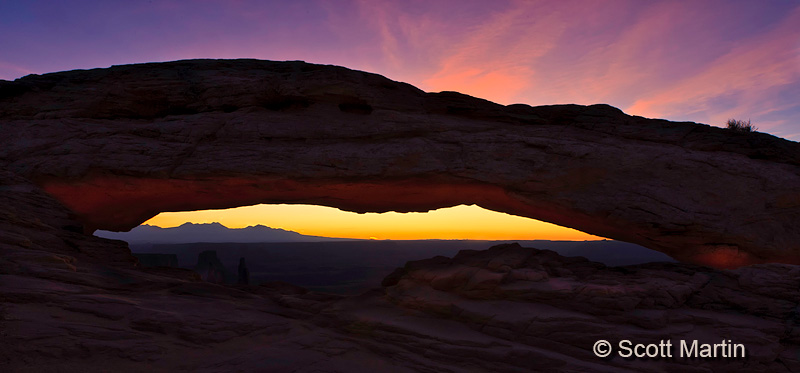
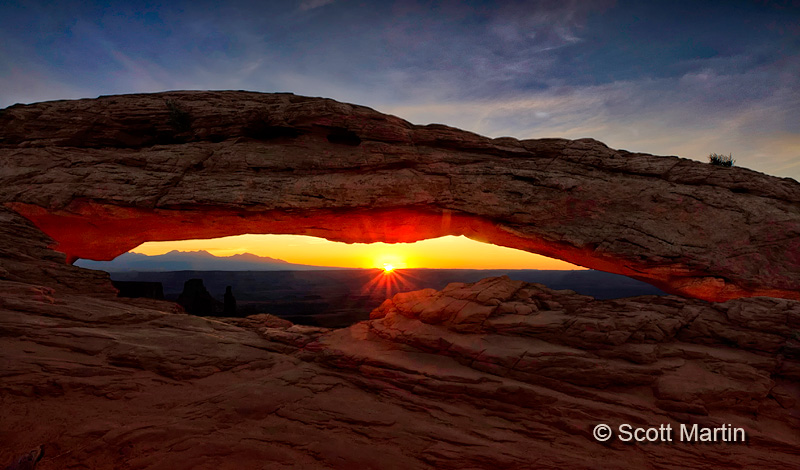
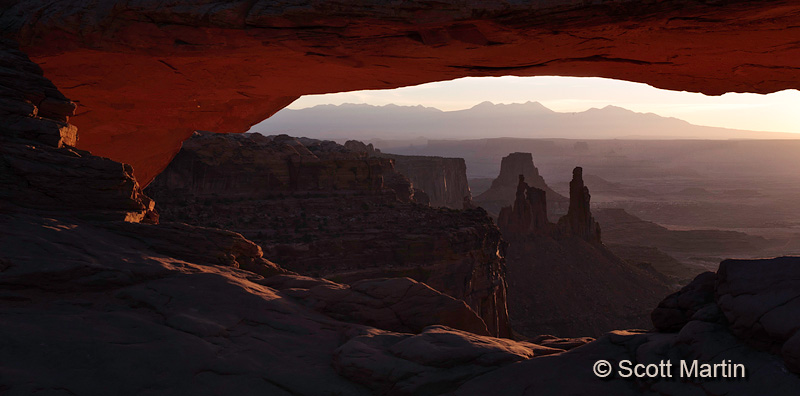
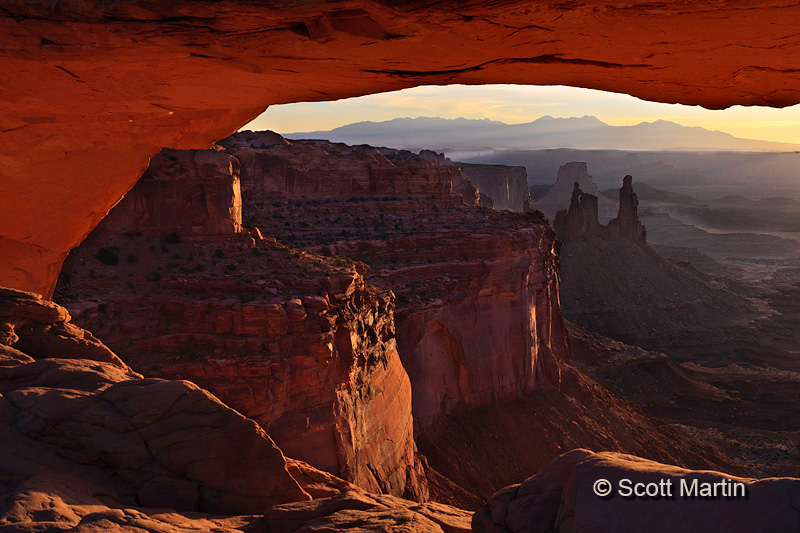
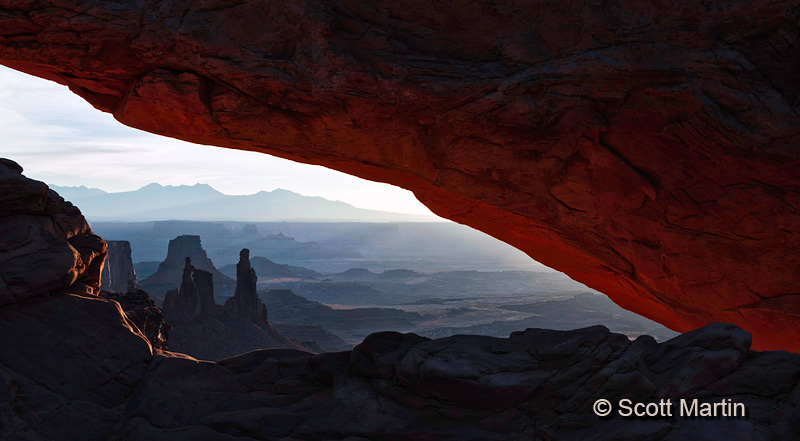
Photographing the Mesa Arch at sunrise is something every serious landscape photographer wants to do before hanging up the camera gear. In order to be there on time requires a bit of effort however that effort is richly rewarded as you watch the sun break over the horizon and under the arch, illuminating the La Sal mountain range some thirty-five miles away and the Colorado River Basin two thousand feet below. It was 34°F when Deb & I left our hotel in Moab Utah around 4:30 a.m. for the forty mile drive to the Mesa Arch trail head which is in the Island In The Sky region of Canyonlands National Park. From the trailhead we hiked the rather short trail (half of a mile) in the dark but didn’t require flashlights all of the way as the moon light was wonderful that morning. Once we claimed a spot for the tripod and set things up we had about 45 minutes before sunrise during which we got a chance to chat with the twenty or so others who arrived before the sun came up. Make sure to arrive early if you want a good spot!
The exposures for the images posted today range from less than a second to more than thirty seconds and were all taken with a Canon 1D MK III and 16-35/2.8 or 24-105/4 lenses. Most were taken with Lee and Singh-Ray 4×6 ND grad filters.
Before the sunrise.

Sunrise….at one of the prettiest places on earth to watch the sun come up. When photographing sunrises, always use a small aperture of f/18 or smaller which creates the starburst look of the sun. This is true for any bright light source in your image (street lights, stars, Christmas lights, candles etc). If you want the starburst effect, use the smallest aperture possible. This means using a tripod because of the longer exposures required but it is worth the effort and creates excellent results.
.
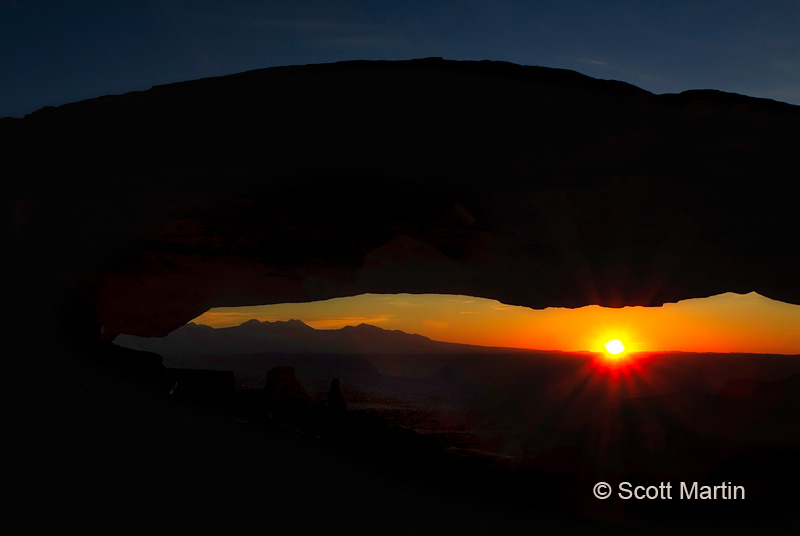
After the sunrise we had some time to explore around the arch and photograph it from many different angles. The following are a few of our favourites as well as some general shots to give you a sense of the area.
The underside of the arch literally starts to glow a few minutes before sunrise and is amazing to watch. In looking at the arch, my theory is that the glowing phenomenon is created by the early light reflecting off the cliff face upwards onto the underside of the arch which overhangs the 1800 foot precipice. The oxide rich sandstone makes the warm early light take on the even richer red & orange shades seen in the images. I think this next shot illustrates the point.
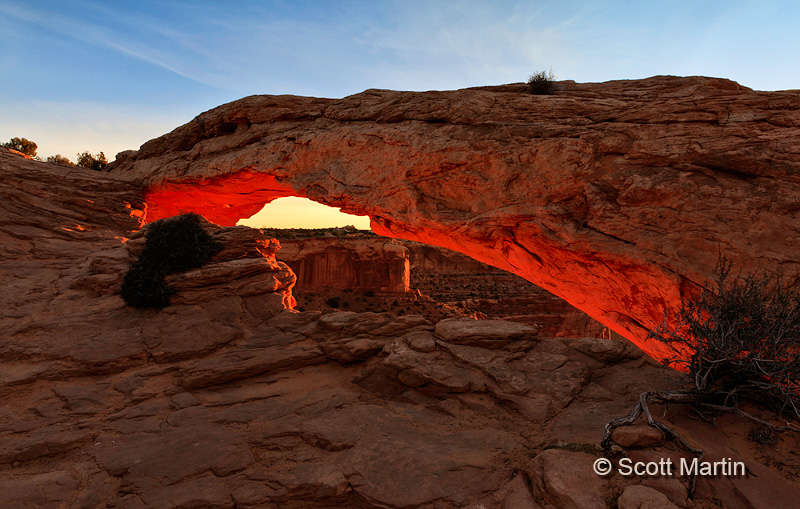
From the other direction.

A group shot!
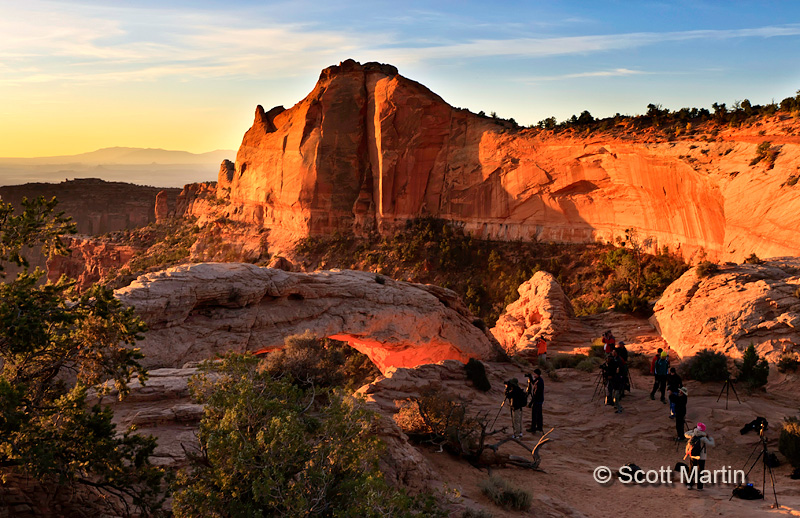
The arch from above (you can see a person at the top of the arch for perspective).
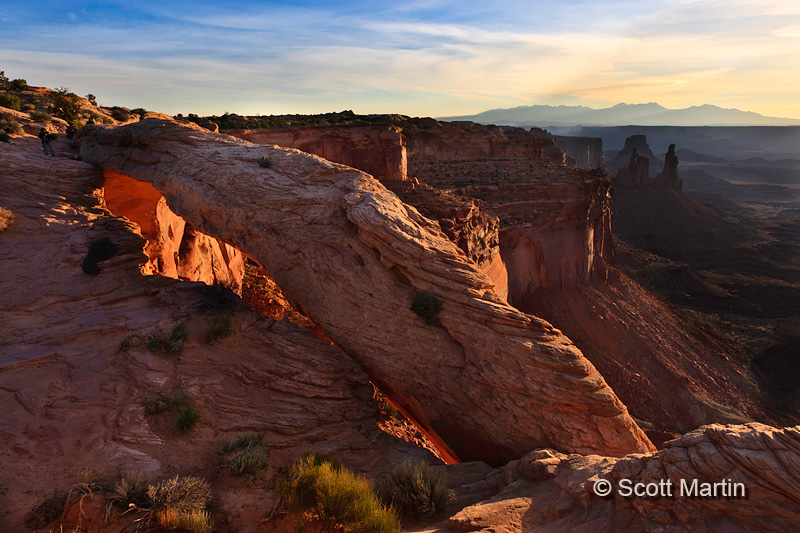
Finally some close-ups. The Mesa Arch is one of the most photographed arches on the planet so there are no unique or original shots to be taken, that said, you always try to take something that is a little bit different.
It seems that many of the rock formations have their own descriptive names. In the right central portion of the image below you can see three local landmarks. The ‘Washer Woman Arch’ is in silhouette in front of ‘Airport Tower’ and immediately left of ‘Monster Tower’.
.
.
.

I trust these images have inspired you to plan a trip to Canyonlands National Park to experience a sunrise at the Mesa Arch.


Follow Scott Martin Photography